WordPress Glossary Plugin (CMTG) + Custom Taxonomies (CMTTCT) - Use Case - Creating Tech Glossary With Custom Taxonomies
Use Case - Creating Tech Glossary With Custom Taxonomies
Note: This use case require these products to be activated:
- WordPress Glossary plugin (Pro+ or eCommerce) - This document uses eCommerce version 3.9.8
- Glossary Custom Taxonomies Add-On
The Glossary Custom Taxonomies add-on lets you define multiple categories in your WordPress site glossary. Once taxonomies are defined, you can assign your glossary terms to specific categories and filter them accordingly.
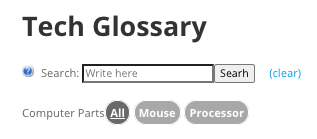
The glossary index will display all terms together with a dropbox for each of the defined taxonomies so visitors to your website glossary can filter the terms based on the taxonomies you have defined.
Video Tutorial
Collaborative Glossary Use Case Front-End

Use Case Assumptions
In this example use case guide, we'll cover how to show a glossary from a specific taxonomy.
We consider that you have already bought the add-on, but not installed it. The WordPress Glossary plugin is used as a base.
It follows:
- Installing the add-on
- Creating a custom taxonomy
- Adding items to custom taxonomy
- Assigning term to custom taxonomies
- Changing placement of the custom taxonomy selector in the glossary
Installing the Add-on
The process is the same for all CM plugins.

- Download the plugin from your customer dashboard.
- Log in to WordPress and navigate to the WordPress Admin → Plugins settings.
- Click on Add New.
- Activate it and add the license.
Creating a Custom Taxonomy
Go to Admin Dashboard → CM Tooltip Glossary → Settings and click on Tooltip Custom Categories.

Management Screen
In this screen you will see all current custom taxonomies. You can edit and delete them and add new options.
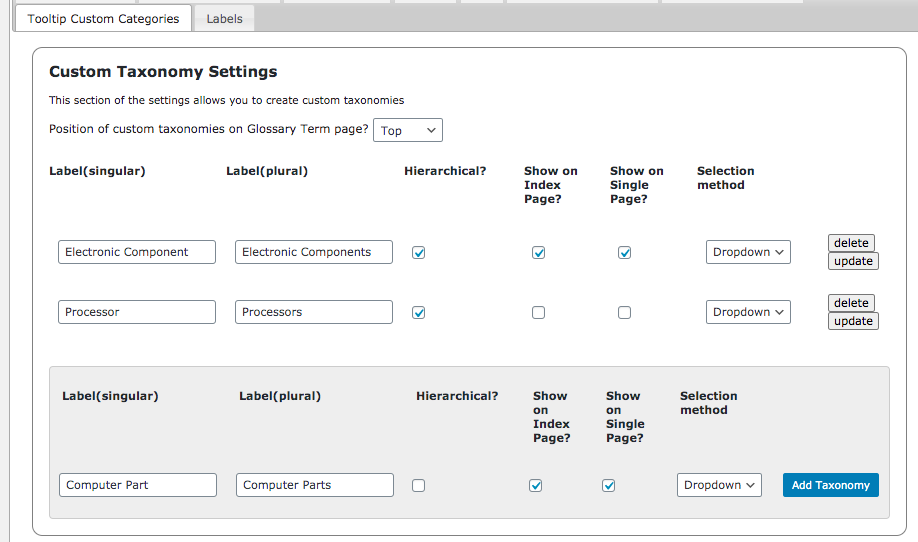
Adding Custom Taxonomy
The options are
- Labels (singular and plural)
- Hierarchical - If enabled, works as a category. If disabled, works as a tag
- Display on the index page - Shows on the glossary
- Display on single page - Shows on the term pages. Will appear on the top of the bottom of the description
- Selection by dropdown or link
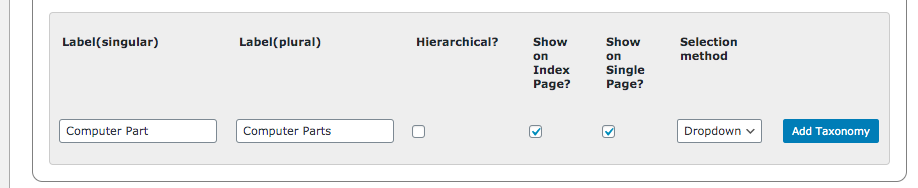
Example: Creating Taxonomy Computer Parts
Let's create a custom taxonomy!
This was achieved with these settings:
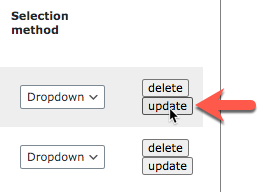
TIP: To Edit Taxonomy, Click Update!
Saving the page without clicking update will not commit the changes made to the custom taxonomy. You have to click update to do so.
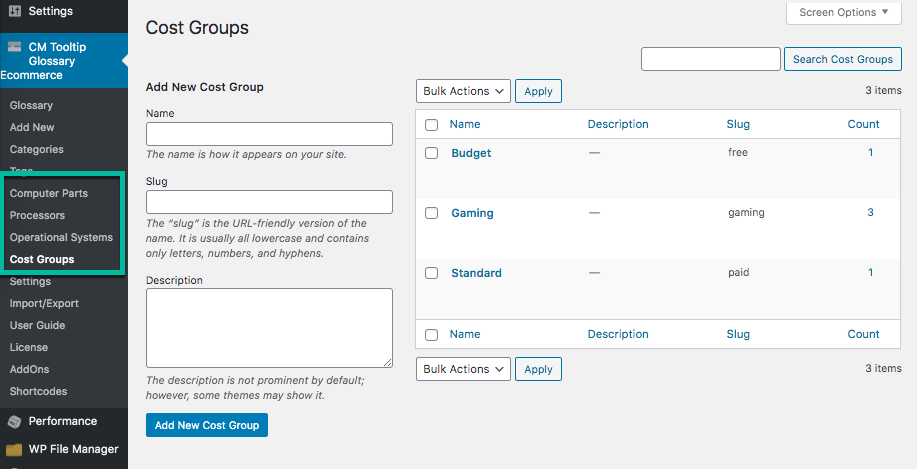
Adding Items to Custom Taxonomy
Once the custom taxonomy is created, it will be listed in the settings bar to the left. Click on it to manage all items.
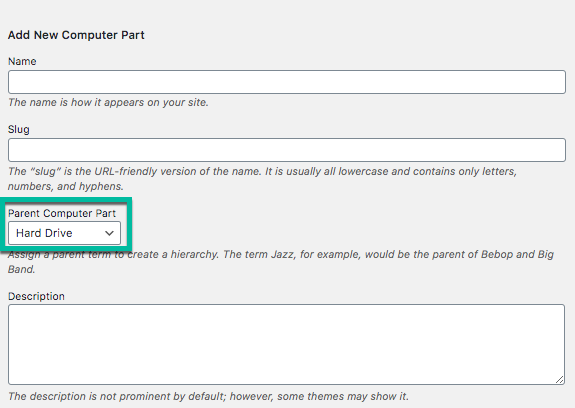
TIP: Categories Can Have Parents
If hierarchical is enabled, you will be able to assign taxonomy items as parents.
For instance Computer → Computer Part → Hard Drive.
Assigning Term to Custom Taxonomies
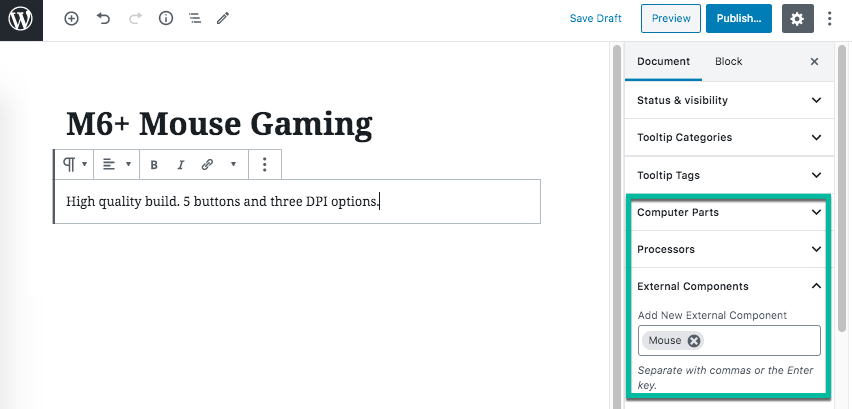
When creating or editing a term, you will now see the custom taxonomies metaboxes. Through them, you can assign as many custom taxonomies as necessary.
Example
Assigning Mouse term to "Mouse" External Components
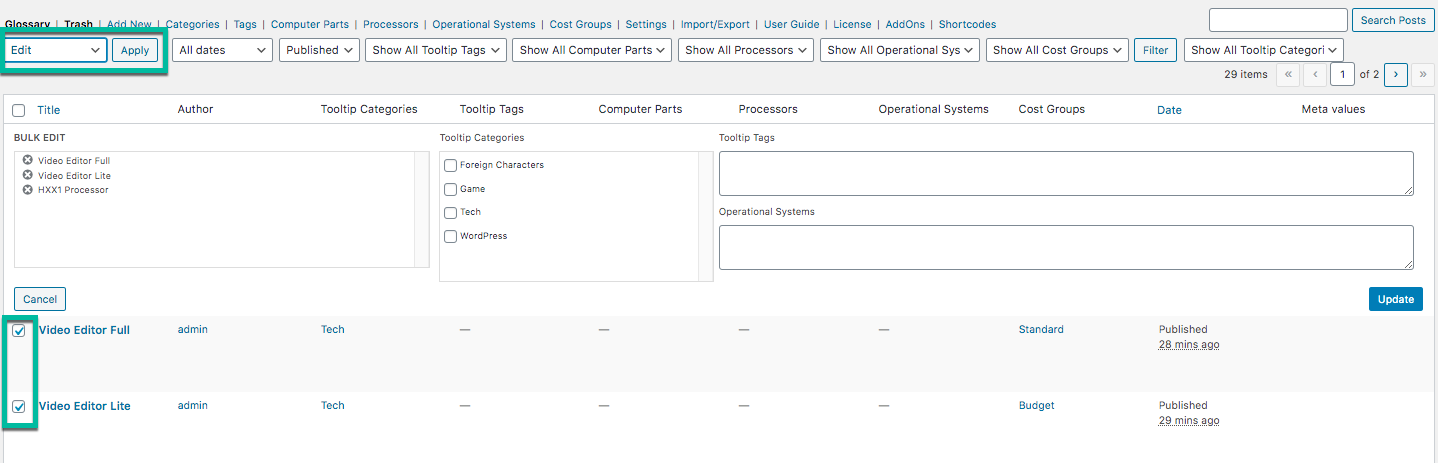
TIP: Bulk Editing
You can edit multiple items at once by selecting them and, under Action, choosing Edit.
From the submenu, you can also edit their custom taxonomies.
Changing Placement of the Custom Taxonomy Selector in The Glossary
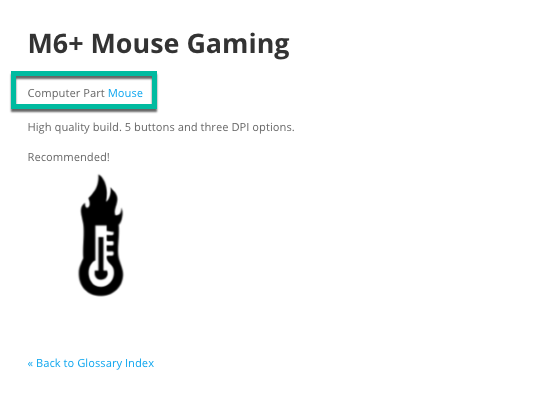
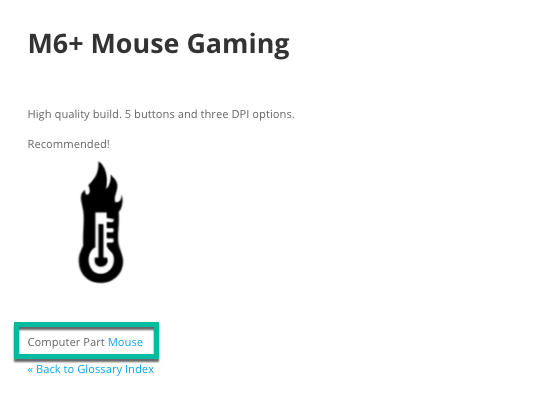
The option Position of custom taxonomies on Glossary Term page lets you choose if they will be shown at the top or bottom of the term description.
Difference
Top
Bottom
 |
More information about the Glossary Custom Taxonomies Add-on for WordPress Other WordPress products can be found at CreativeMinds WordPress Store |
 |
Let us know how we can Improve this Product Documentation Page To open a Support Ticket visit our support center |