Appointment Booking Calendar - How The Plugin Works
How The Plugin Works
Prefer a Complete Step-by-Step?
Check our use case guides:
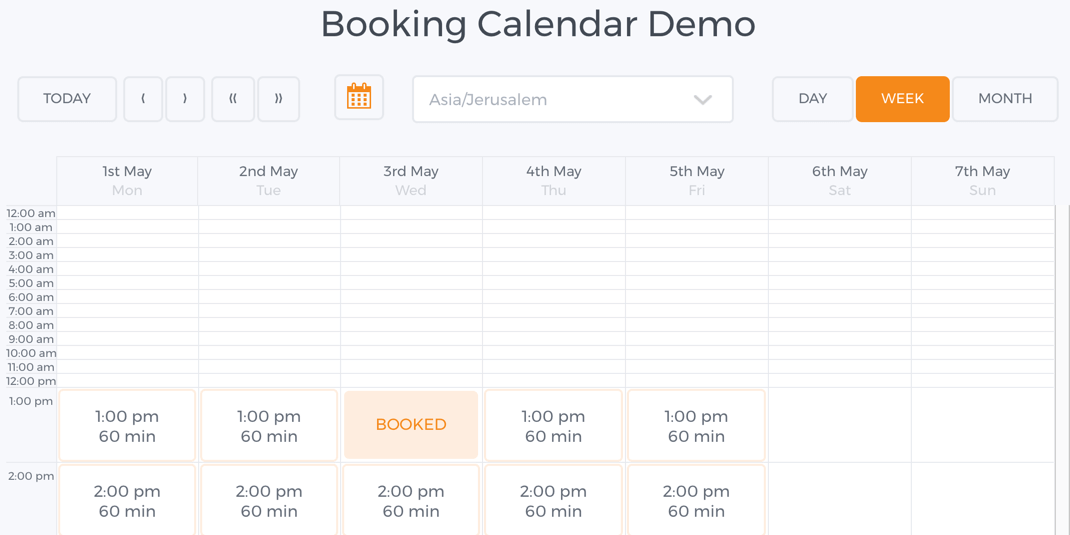
The Appointment Booking Calendar plugin allows you to create and manage calendars. In the front-end, they can look like this:
Example
Step by Step
Here are the steps and initial explanation to create your first appointment calendar.
-
Create your calendar - Once the plugin is installed and license is active. The first thing you need to do is create your calendar. You can create several calendars each serving a different appointment needs. In each calendar you need to define if booking are automatically accepted or need moderation.

Navigation to the page for managing calendars 
Dashboard for managing calendars
-
Select your booking form - Once you have created your first calendar you can create the appointment form to this calendar. Visit the forms section of the plugin admin menu and select the calendar you have created.

Navigation to the page for managing forms 
Editing the calendar form Customize your booking form - You can drag and drop any field to the form and have as many fields as needed. For each field you can define if it is mandatory and also adjust the label and description.

Form builder -
Availability - next you need to define the availability while visiting the schedule section in the admin menu and setting the hours in each day which appointments are possible. You can also define days on and days off.

Navigation to the page for managing schedules The schedule grid can be switched to 15, 30 or 60 minutes slots scale. It means, the appointment can't start at random minute - it can start only at 00, 15, 30, 45 minutes of any hour.

Editing the calendar schedule -
Shortcode - last you need to insert the shortcode including the calendar slug name to any page or post.

Placing the calendar on the page -
Settings - You can adjust the calendar colors, set notifications and also adjust the plugin general settings.

Plugin settings


 |
More information about the Appointment Booking Calendar plugin for WordPress Other WordPress products can be found at CreativeMinds WordPress Store |
 |
Let us know how we can Improve this Product Documentation Page To open a Support Ticket visit our support center |