WordPress Registration Form Plugin (CMREG) + Approve New Users - Use Case - Adding a Moderated Registration System to WordPress
Use Case - Adding a Moderated Registration System to WordPress
Note: This guide requires:
- Pro version of WordPress Registration Form Plugin - This document uses version 3.1.0.
- Registration Approve New User add-on
Video Use-Case
Introduction
The WordPress Registration Form Plugin allows your users to login and register to your site via beautiful pop-ups. The Registration Approve New User add-on lets you moderate registration requests.
Use Case Front-End
Use Case Assumptions
Want to Learn From The Start?
If you still haven't configured the WordPress Registration Form Plugin, check the use case:
In this example use case guide, we'll cover how to allow the admin to moderate registrations, meaning every user has to be approved or rejected before receiving an account. We consider that you have already bought the Registration Approve New User add-on, but not installed it.
It follows:
- Installing the add-on
- Enabling user registration approval
- How to approve/reject users
- Automatic approval
- Email Notifications
Installing the Add-on
The process is the same for all CM plugins and add-ons.

- Download the plugin from your customer dashboard.
- Log in to WordPress and navigate to the WordPress Admin → Plugins settings.
- Click on Add New.
- Activate it and add the license.
Learn more: Getting Started - Plugin Overview
Initial Setup
For the following steps, the login/registration pop-up has to be properly set up.
If you still haven't configured:
- Installing the base plugin
- Showing and configuring the pop-up
- Configuring how users log in
- Registration required fields
- Email notifications
- Invitation codes
- Labels
Please, check:
Enabling User Approval
Important Setting
This is the most important part of the process!
Follow the path CM Registration Pro → Settings → Approve New Users.

- Enable approving new users by admin - Enables the functionalities of the add-on
Enable approving new users by profile field - Allows you to assign different contacts to approve accounts. To do this, insert the Meta Key of the contact field that will be checked.
Use Case - Delegating Approval
Suppose your company has sellers collecting information from new users. You would like registering users to identify the seller - if the seller exists, he/she will receive the message and approve the account. If the seller is not mentioned or doesn't exist, you (the administrator) will receive the email confirmation instead.
To set this up:
Edit the form to add the seller's contact. In this case, it's "Email of Timex Contact", with the User Meta Key "email_of_timex_contact", as shown:

Where to find the user meta key "email_of_timex_contact" Now, head to the Enable approving new users by profile field setting and add the meta key - "email_of_timex_contact".

Adding the user meta key "email_of_timex_contact"


How to Approve/Reject Users
This is a core process of this add-on. There are two ways to do it.
1) Via Email
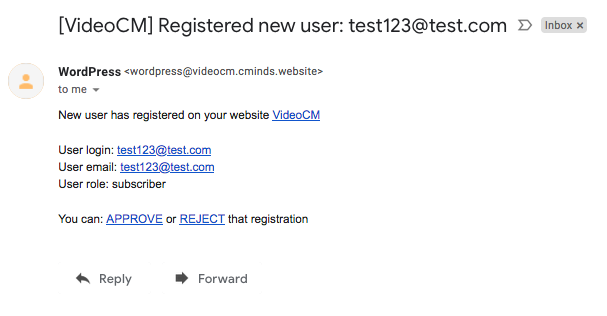
The site admin can choose to send themselves or anyone they wish notification emails whenever a visitor with a Registration Code attempts to Register on the site. This email can have a link to Approve the Registrant directly from the email.
Example
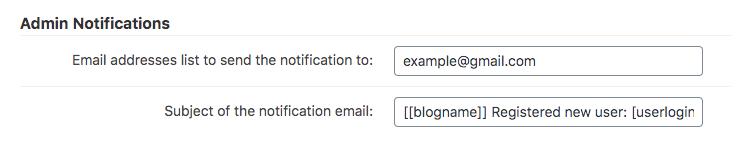
To so, choose the email at Admin Notifications section → Enable address list to send the notification to. You can add multiple addresses, separated by comma.
Extra List
The section Owner Notifications offers another list of emails and template to work with. The function is the same: monitor and approve/reject registrations.

TIP: Adding the Approve / Reject Links to the Email
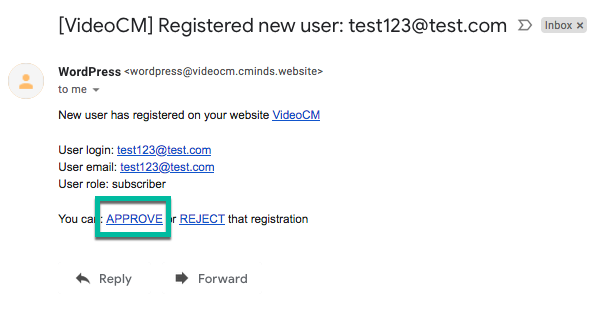
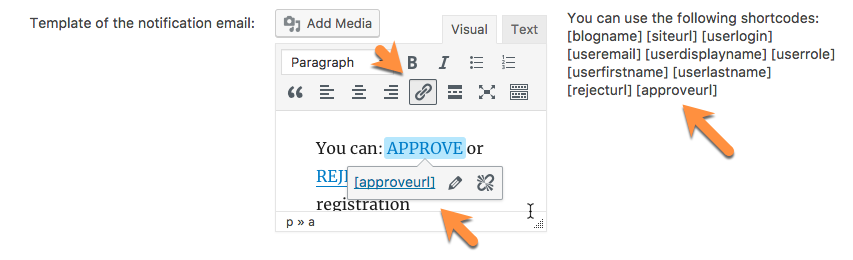
The default Admin Notification email contains the link to Approve the registration. However, if you happen to delete the original template contents you can add the Approve links very easily.
In the Text box labeled Template of the notification email, ensure that the [approveurl] and [rejecturl] links are in the body of the email. You can create anchors and add them as the href parameter or use the visual editor and click the link button to do this.
Below, we talk more about other notifications.
2) Via Approval Dashboard
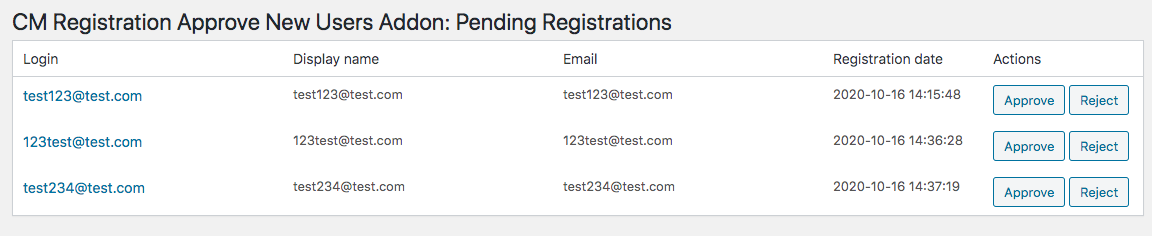
You can manage all requests from a single dashboard. To reach it, head to CM Registration Pro → Pending Registrations.
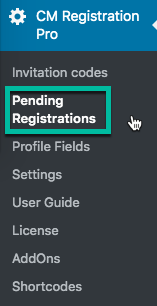
Once clicking on the menu link, the registration moderation dashboard will appear:

The Admin can click the Approve or Reject button. Once Approve has been clicked, the notification email will be sent to the user. Learn below how to customize it.
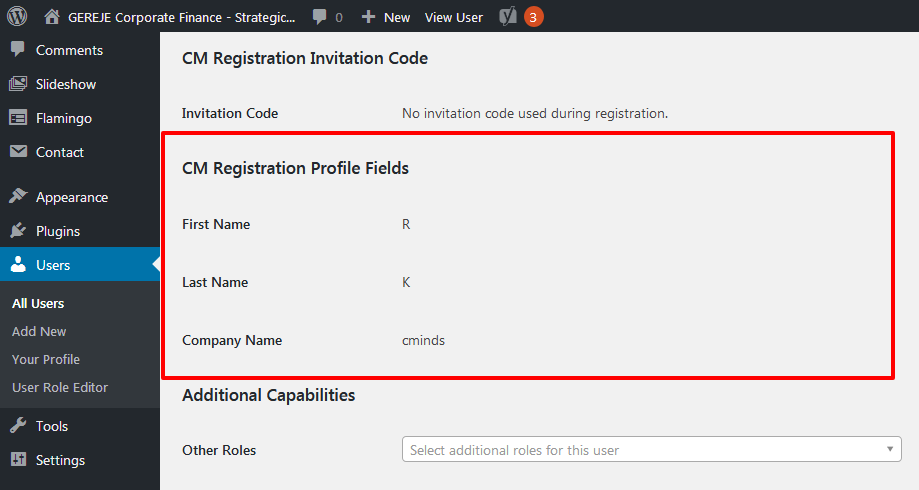
TIP: User Profile Fields Shortcut
Also note that clicking the login name will direct you to the profile fields screen of that user.

Automatic Approval
What You Can Auto-Approve
You can automatically approve users in two cases:
- If users applies any invitation code
- Based on domain
1) Based on Invitation Code
Approves all users registered using invitation codes, regardless of the invitation code used.
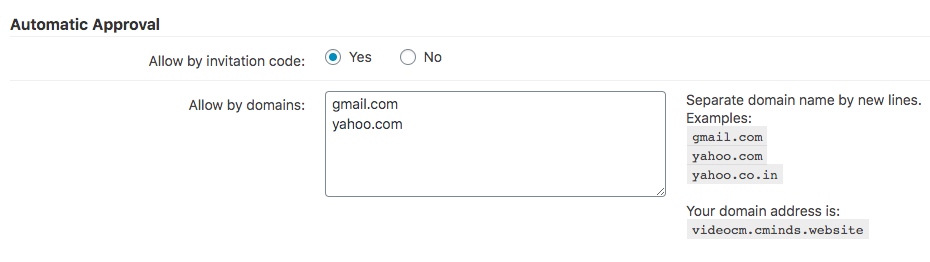
2) Based on Domain
For example, adding "gmail.com" and yahoo.com" will automatically approve all users with emails from either of those domains (test@gmail, test1@gmail etc.).
Domains must be separated by new lines.
Email Notifications
Message List
To the Admin
- A user tried to register
To the user
- Registration was approved
- Registration was rejected
To the Admin
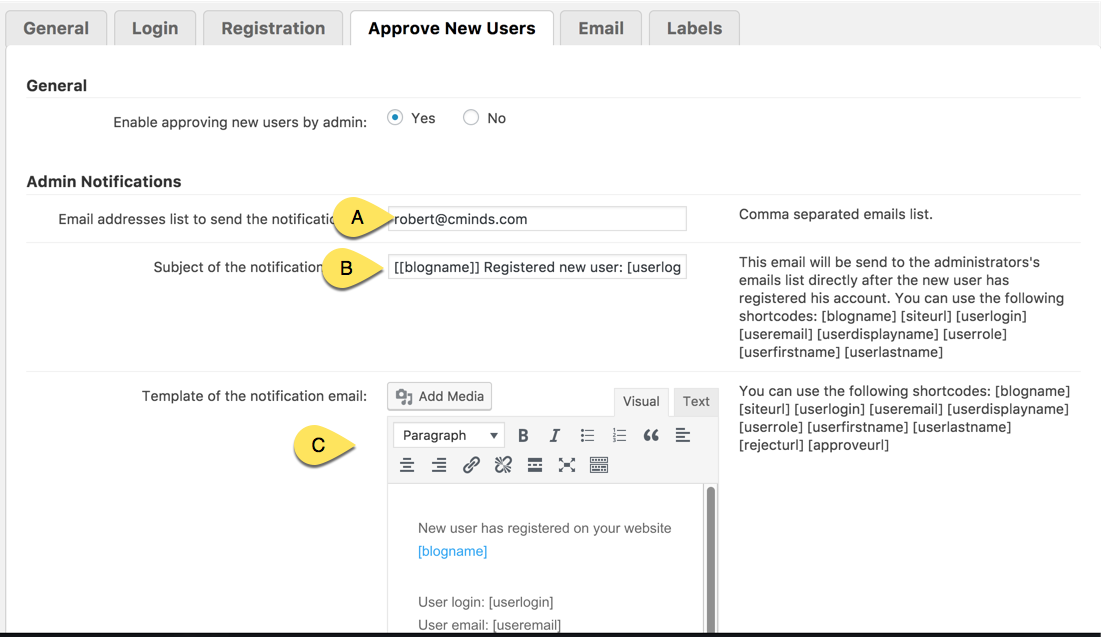
The admin will receive a notification once a new user tries to register to the site. As mentioned before, you can list one or more "Admin" emails that will receive these notifications.
A - You can define which email will receive notification about new users registered to your site.
B - Select the title to be used for the email notification while using one of the following shortcodes:
[blogname] [siteurl] [userlogin] [useremail] [userdisplayname] [userrole] [userfirstname] [userlastname]
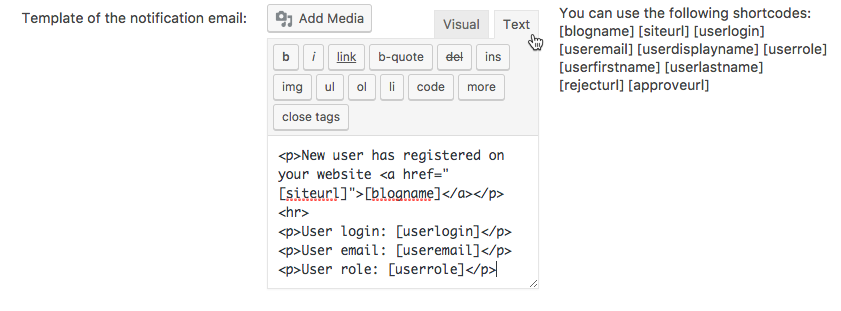
C - Select the content of the email send to the admin. You can use inside the email content the following shortcodes:
[blogname] [siteurl] [userlogin] [useremail] [userdisplayname] [userrole] [userfirstname] [userlastname] [rejecturl] [approveurl]
To the User
The user which is making the registration will receive the notification once the admin approves or the registration.
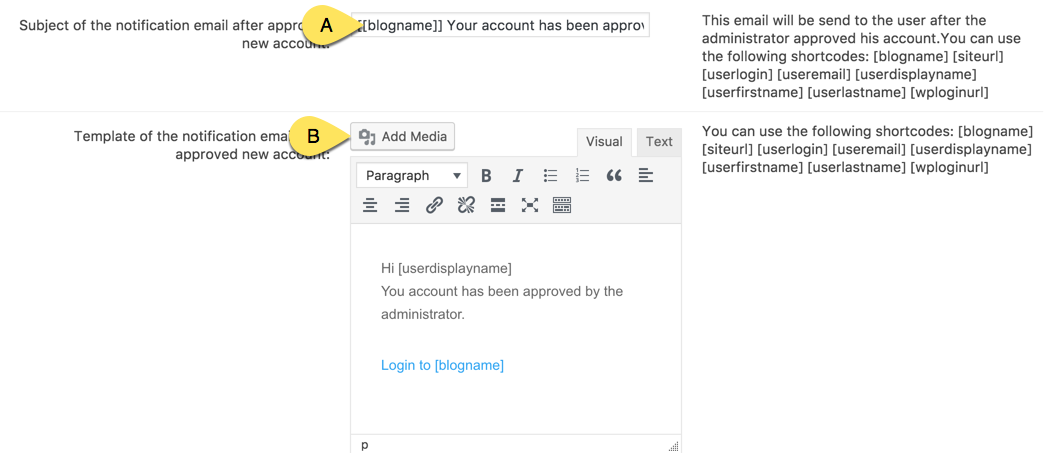
1) Approval email
A - Title of the email sent to the user. This can includes one of the following shortcodes:
[blogname] [siteurl] [userlogin] [useremail] [userdisplayname] [userfirstname] [userlastname] [wploginurl]
B - Content of the message sent to the user. This can include one of the following shortcodes:
[blogname] [siteurl] [userlogin] [useremail] [userdisplayname] [userfirstname] [userlastname] [wploginurl]
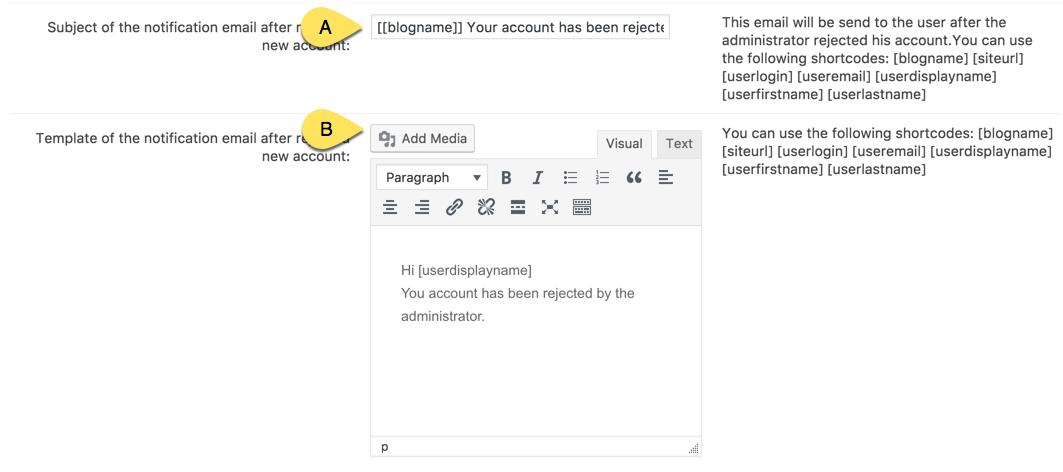
2) Rejection email
A - Title of the email sent to the user. This can includes one of the following shortcodes:
[blogname] [siteurl] [userlogin] [useremail] [userdisplayname] [userfirstname] [userlastname]
B - Content of the message sent to the user. This can include one of the following shortcodes:
[blogname] [siteurl] [userlogin] [useremail] [userdisplayname] [userfirstname] [userlastname]
Placeholders
Use the placeholders provided on the right in the description section to add dynamic content to the Subject or Body of the email.
For example, you can use: [userdisplayname] in the Subject to show the display name that the user has chosen.
TIP: Add HTML to the Email
HTML Emails can be included or created. To use HTML click on the Text button on the top right of the text box labeled Template of the notification email:
End Result
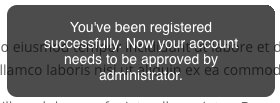
Following instructions found in the plugin and guides, you should be able to approve and reject new registrations.
Use Case Front-End
 |
More information about the WordPress Registration Form Plugin Other WordPress products can be found at CreativeMinds WordPress Store |
 |
Let us know how we can Improve this Product Documentation Page To open a Support Ticket visit our support center |