WordPress Email Registration Blacklist (CMRB) - Email Blacklist
Email Blacklist
Tip
You can whitelist and blacklist multiple email addresses at once with the CSV import feature. Check the guide.
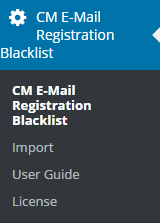
To add emails to blacklist in the WordPress Email Registration Blacklist plugin, navigate to Admin Panel → CM E-Mail Registration Blacklist.
Click on Email Blacklist tab.
The blacklist contains a list of all of the emails that will be blocked from registering on your site regardless of their domain status. Add a new email by typing in the box provided.
To save the changes click the button Update.
To clear the whole email black list click the button Clear All. Note: this feature was introduced in version 1.5.4.
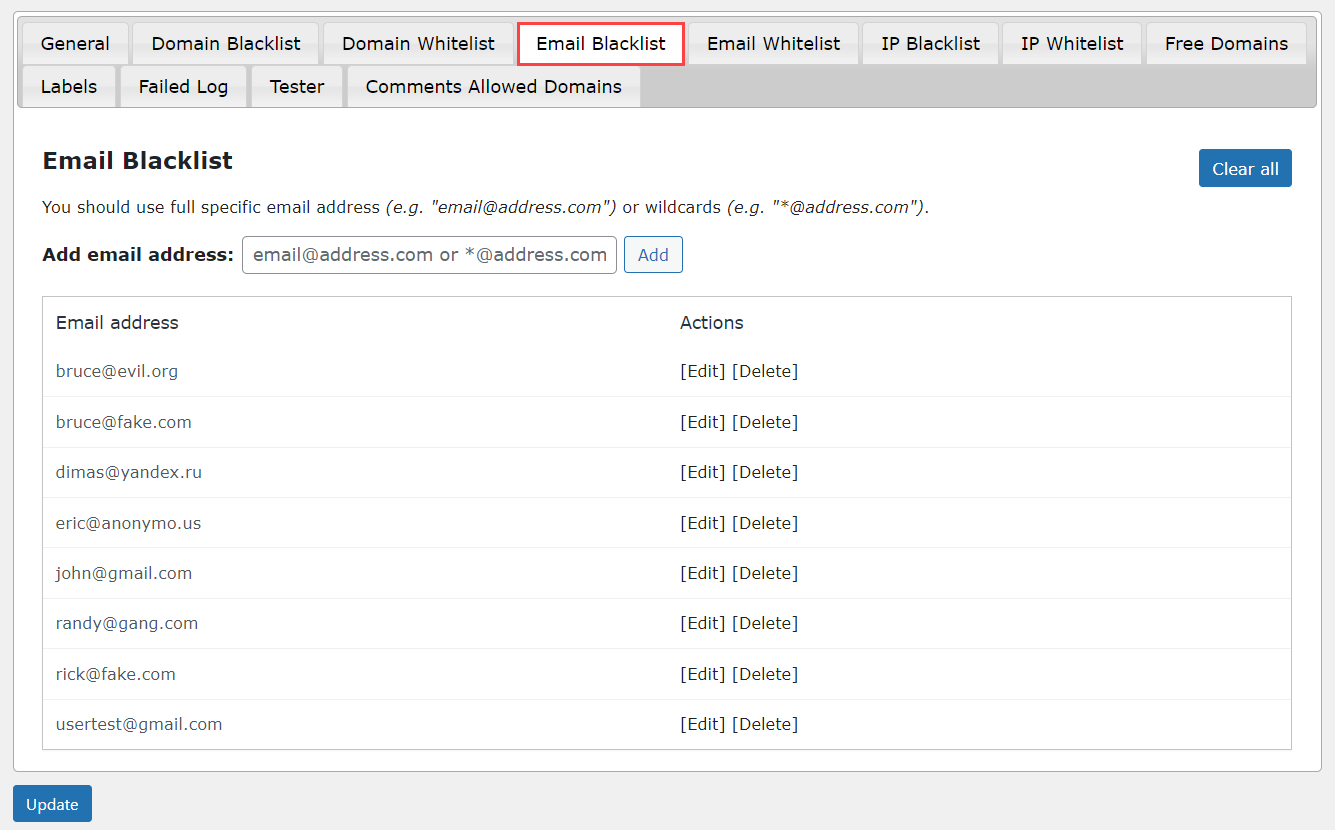
Anyone with an email address matching the address you enter on the blacklist will be unable to register for your site.
Note on Gmail Domain
Google allows its users to modify the email address by including dots or plus inside the address. This applies to @gmail.com and @googlemail.com accounts.
Starting from version 1.4.2 of the plugin, you can block all these variants by adding the "clean" version to the blacklist, without including any dot or plus signs. In the example above, that would be johnsmith@gmail.com.
 |
More information about the WordPress Email Registration Blacklist plugin Other WordPress products can be found at CreativeMinds WordPress Store |
 |
Let us know how we can Improve this Product Documentation Page To open a Support Ticket visit our support center |