WordPress Registration Form Plugin (CMREG) - Settings - Registration Settings
Registration Settings
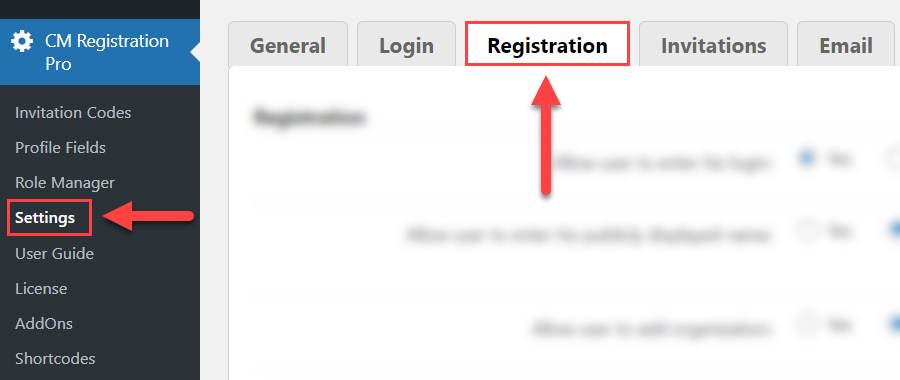
To configure the registration settings of the WordPress Registration Form Plugin, navigate to Admin Dashboard → CM Registration Pro → Settings → Registration tab.
Registration
The options in this section are:
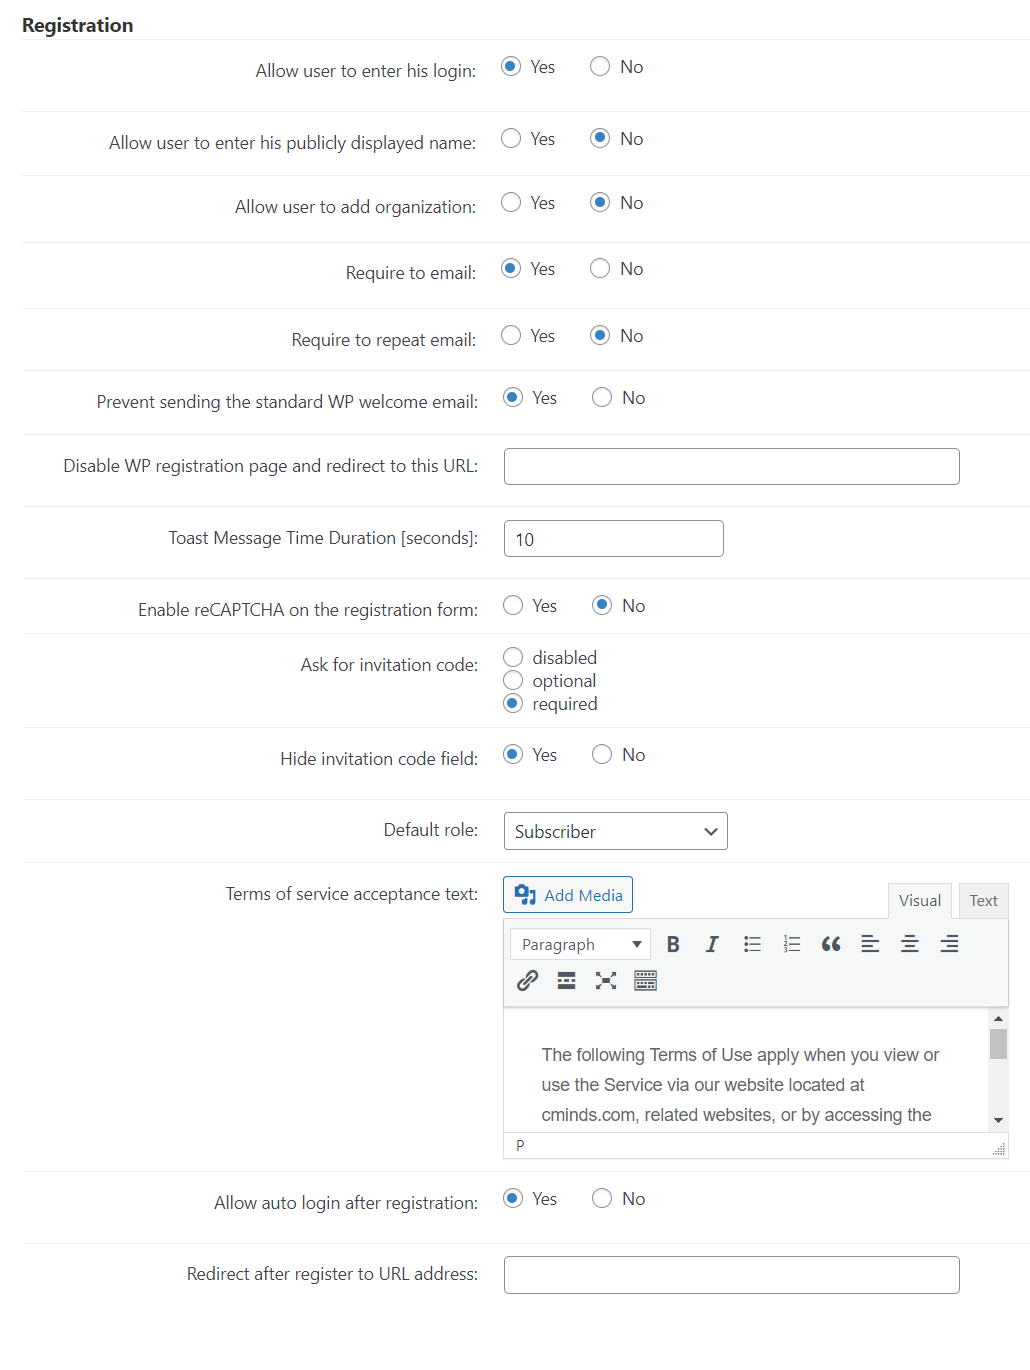
- Allow user to enter his login - Allows Users to make a custom Login Username rather than automatically assigning one to them based on the email address they use (note: generates a Custom Field - read more).
- Allow users to enter his publicly displayed name - Allows users to customize the name that displays beside their comments and posts rather than the default of displaying their email address (note: generates a Custom Field - read more).
- Allow user to add organization - Adds the "Organization" field. By default, it's a simple text field. If Business Directory plugin is also installed, the user will be able to select it based on the business listings. Learn more
- Require to email - The email field will be obligatory.
Require to repeat email - Forces the user to repeat the email. This setting is useful to prevent the user from mistakenly writing the wrong address.
Enabling this option automatically creates the field "Repeat email" in the Registration Form. Learn more
- Prevent sending the standard WP welcome email - Toggles whether or not registrants will receive the WordPress welcome email after signing up.
- Disable WP registration page and redirect to this URL - Replaces the WordPress default registration page with the WordPress Plugin User Registration registration page.
Toast Message Time Duration [seconds] - Toast messages are non-intrusive alerts that pop up over the content. The default value is 10 seconds.

Example from Android. - Enable reCAPTCHA on the registration form - Toggles the reCAPTCHA tool on or off for the Registration form to filter bots.
- Ask for invitation code - Require/disable an invitation code or make it optional when a user registers. If the user does not have an invitation code and it is required he will not be able to register. When it is optional, you may want to use it in case the invitation code is used to assign a specific user role.
- Hide invitation code field - Enable this option to hide invitation code field if the user uses an invitation link for registration. Learn more about invitation links in this guide: WordPress Registration Form Plugin (CMREG) - Settings - Invitation Codes. Note: this option was introduced in version 3.4.6.
- Default role - User's role granted after the registration.
- Terms of service acceptance text - Will be displayed next to the checkbox the user must check in order to register.
- Auto login after registration - Logs in the user as soon as they register
Redirect after register to URL address - After registration, the user will redirected to this URL.
TIPS
You can use these inside the URL:
%usernicename% - will be replaced by the username
%userlogin% - will be replaced by the user login
%usersitename% - will be replaced by the micro-site assigned to the user created.
For example, if the user's login is "tom123", for that user, www.site.com/%userlogin% will become www.site.com/tom123
Resources:
Password
The options in this section are:
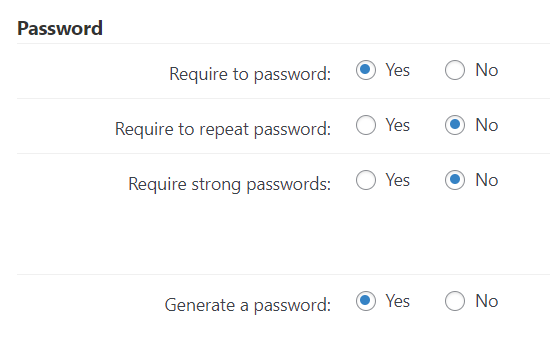
- Require to password - If enabled, the registration form will require a password field. If disabled, the user will not require to choose a password upon registration. Instead, he/she will receive an email with instructions to generate a password. The message can be configured from the Email Settings. Learn more: WordPress Registration Form Plugin (CMREG) - Settings - Email Notifications Settings.
- Require to repeat password - This is a common practice in registration forms to make sure the user password was not mistyped. Once selected two password fields (original and repeat) will appear in the registration box (read more in the specific guide). The original has the Meta Key value cmregpw and the repetition, cmregpwrepeat.
- Require strong passwords - If this is enabled, the password must be at least 8 characters long and must contain at least one lowercase letter, one uppercase letter, and one digit.
- Generate a password - If enabled, the registration form will automatically generate a password for a user. The user is still able to change the password to another one. Note: this option was introduced in version 3.4.6.
Email Verification
Tips
- Using activation links forces the users to use a real email address.
- Demanding a secondary email can be useful for parents or guardians. For instance, if a child wants to register, the parent will also receive an email with another activation link and the child's user will only be created after both parent and child clicked their links.
The options in this section are:
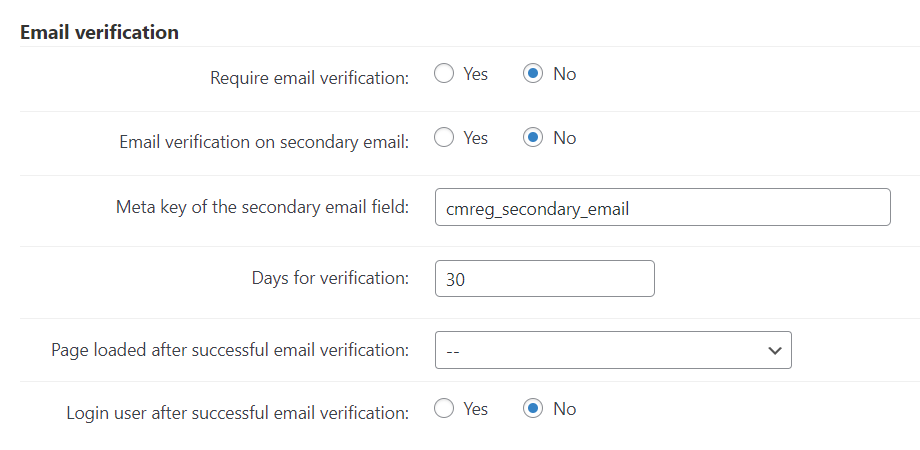
- Require email verification - Require or not require email verification for complete registration. If enabled, the user will receive an email with an activation link that must be clicked before an account is active and the user can log in.
- Email verification on secondary email - Adds an additional email address to the verification process, with a different activation link. The account will only be active if both activation links are clicked.
Meta key of the secondary email field - The "name" of the secondary email field to be added in the Registration Form. Only works if the previous setting is set to "Yes".
Note that the secondary email field has to be added manually to the registration form. Learn how.
- Days for verification - Customize the number of days users have to verify by email before they need to re-register. The account will be automatically removed from your site database once the amount of days has passed.
- Page loaded after successful email verification - Specify a page on your site that loads after an email are verified. This can be a welcome or thank you page when the user verifies his email.
- Login user after successful email verification - If enabled, the user will logged-in automatically after verifying his/her email address.
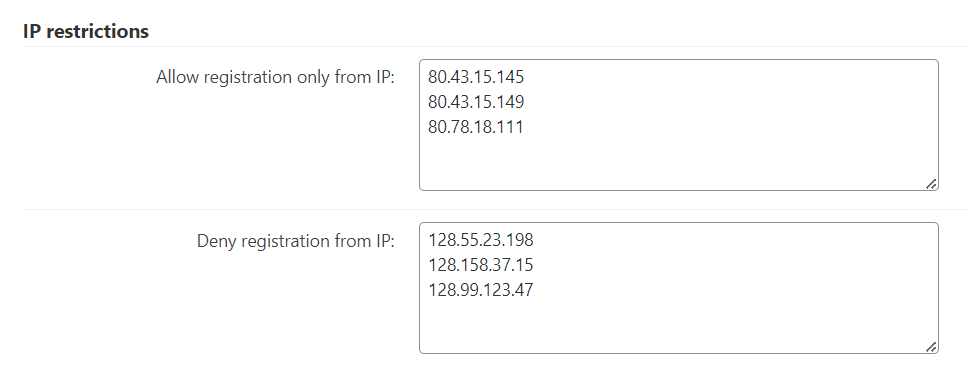
IP restrictions
You can allow or deny registrations requests from specific IP addresses. In both cases, the IPs must be separated by lines. The options in this section are:
- Allow registration only from IP
- Deny registration from IP
Examples of IPs
101.39.142.1, 2.128.137.91, 156.33.111.13
S2Member Pro integration
The options in this section are:
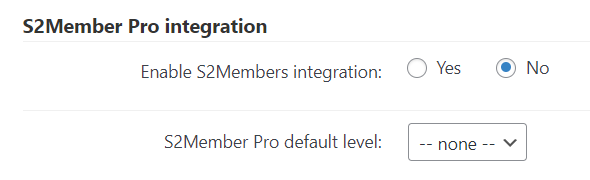
- Enable S2Members integration - If enabled, the invitations code can be related to the S2Members Pro membership level and new users will be assigned to the chosen level.
- S2Member Pro default level - Assign user which is not using the invitation code to the chosen S2Members Pro membership level.
Age Verification
The options in this section are:
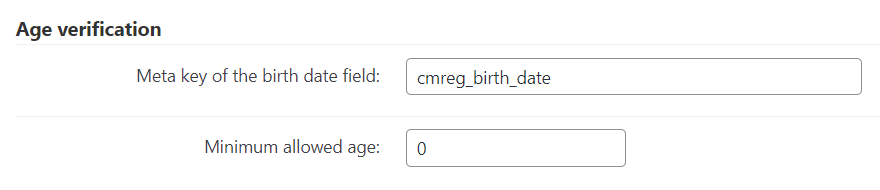
- Meta key of the birth date field - Save this key, as it will make the age verification work. By default, it's cmreg_birth_date
- Minimum allowed age - Set the minimum age. Choosing "0" will turn age verification off.
Learn more about this feature in this guide: WordPress Registration Form Plugin (CMREG) - Extra - Age Verification
 |
More information about the WordPress Registration Form Plugin Other WordPress products can be found at CreativeMinds WordPress Store |
 |
Let us know how we can Improve this Product Documentation Page To open a Support Ticket visit our support center |