Note: this feature was introduced in version 1.6.7.
The WordPress Restricted Site Access plugin allows to create, edit, duplicate and delete user roles on your WordPress site. You can edit only basic WordPress user role capabilities with a simple and user-friendly interface. The plugin doesn't allow to edit custom user capabilities provided by third-party plugins.
To find the user role manager tool, navigate to Admin Dashboard → CM Site Access Restriction Pro → Role Manager.
Navigation to the Role Manager
There you will find a table with all existing user roles on your site.
The button Add New Role above the table allows you to create a new user role.
Each user role has a list of actions available for managing them:
View - Clicking on it allows you to see the list of enabled basic capabilities for that user role. Available for the Administrator user role only.
Edit - Clicking on it allows to edit user role capabilities. Not available for the Administrator user role only.
Duplicate - Clicking on it creates a copy of a chosen user role.
Delete - Clicking on it allows to delete any user role except Administrator.
Role Manager
For each user role you can see its type (Built-In or Custom), the amount of enabled capabilities (for example - 35 / 165) and the amount of users for each role.
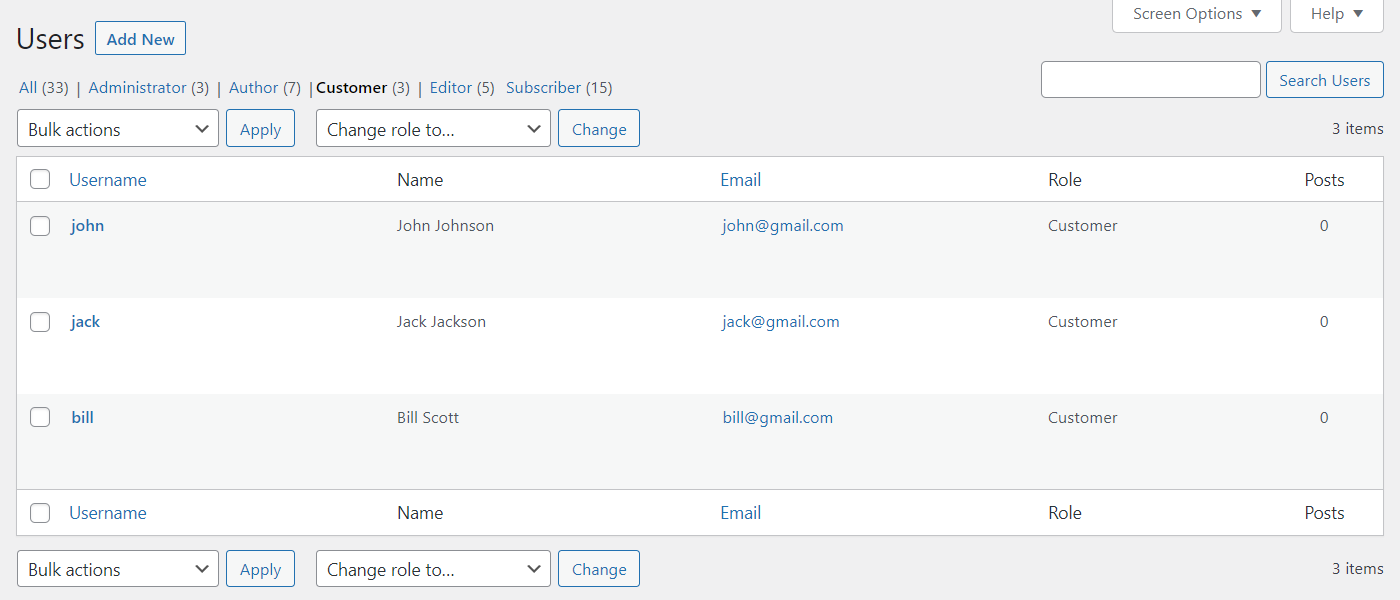
Clicking on any number in the column Total Users will open a new tab with the list of users of a certain category:
Viewing the list of users with certain user role
Creating New User Role
Clicking on the Add New Role button opens a form where you can:
Enter required Role Display Name
Enter required Role Name
Select all available user capabilities at one
Unselect all available user capabilities at one
Manually choose needed user capabilities or groups of capabilities.
Creating new user role
Click the button Select All to check all capabilities at once, and click Select None to uncheck them.
Selecting All or None user capabilities
Select Specific Capabilities
All capabilities are sorted into relevant sections. You can select or unselect all capabilities in the section by clicking on the checkbox next to the section name. You can also select or unselect each specific capability.
Selecting specific user capabilities
Finishing Creating a User Role
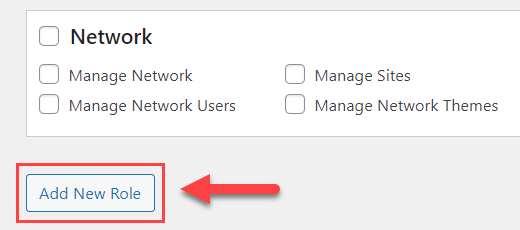
To finish creating a new user role, click the button Add New Role below the list of capabilities.
'Add New Role' button
Edit / Duplicate / Delete User Roles
When the user role is created, you can Edit, Duplicate or Delete it, using the button in the Action column.
Managing user roles
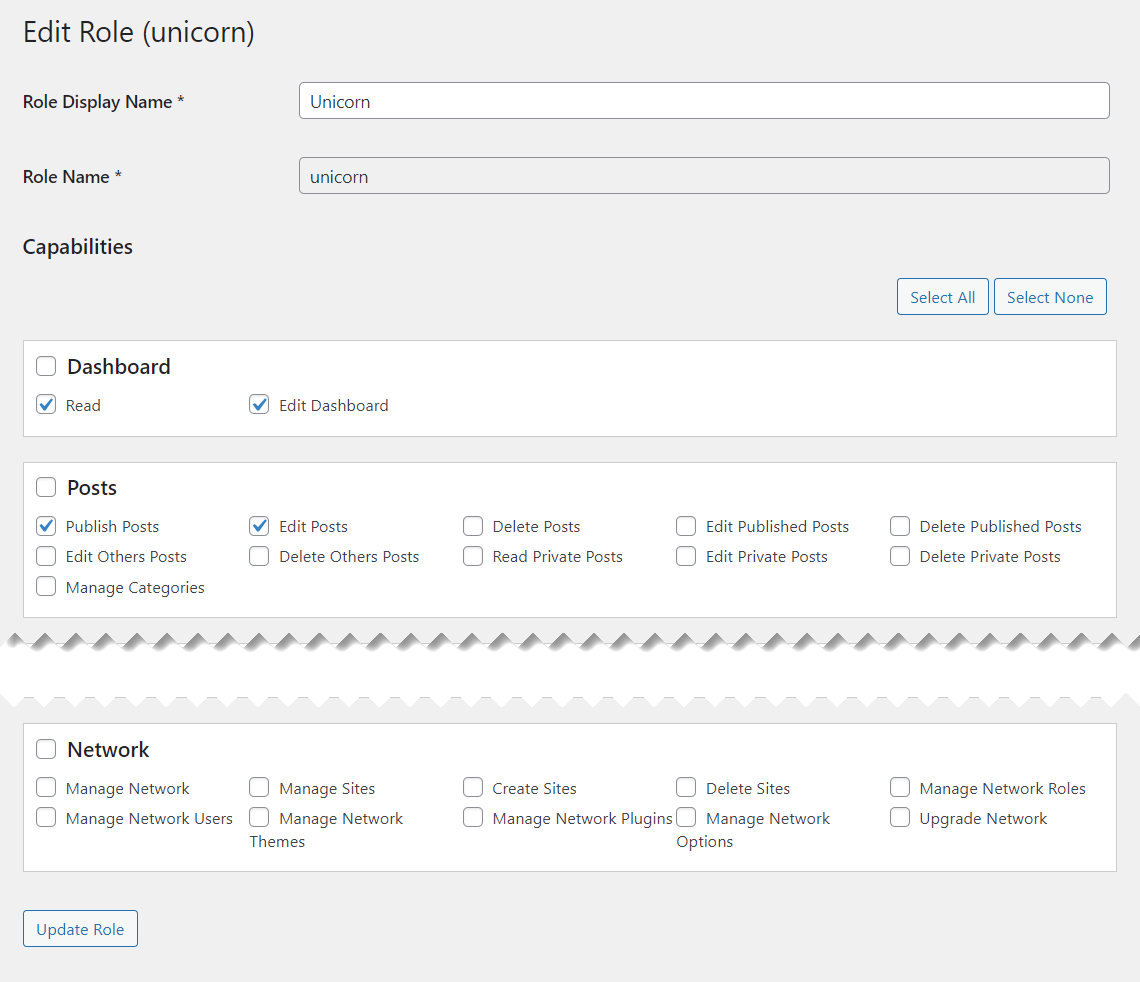
Edit User Role
The editing page looks almost the same as for creating a new user. The difference is that you can't edit the Role Name. All other actions are the same - you select or unselect needed user capabilities, and then click the button Update Role to save the changes.
Editing existing user role
Duplicate User Role
When you click Duplicate, it creates a copy of a chosen user role with all selected capabilities. To finish the duplicating process, you need to click the Add New Role button, or edit user role name or capabilities before it.
Duplicating existing user role
Delete User Role
Clicking on Delete will show you the confirmation message. To confirm the deletion, click the button OK.
Deleting user roles
Additional User Roles
Note: this option was introduced in version 1.7.6.
The plugin allows you to assign additional user roles to each user.
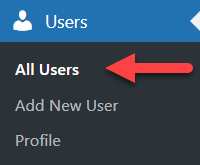
To do this, navigate to Admin Dashboard → Users → All Users.
Navigation to the Users dashboard
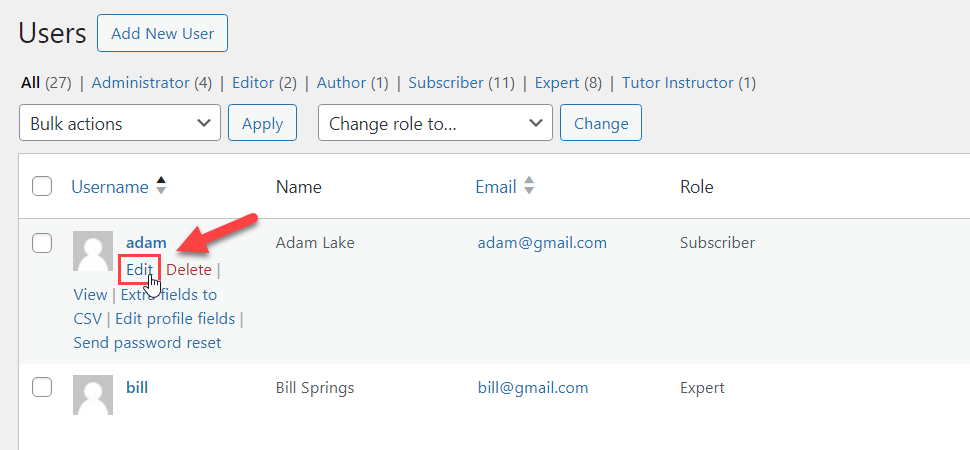
Hover on the needed user and click Edit.
Editing the user
Scroll down and find the section CM Site Access Restriction. There is an option Additional Roles where you can select more roles for the user.
Assigning additional user roles to the user
Then click the button Update User at the bottom of the page.
Saving the changes
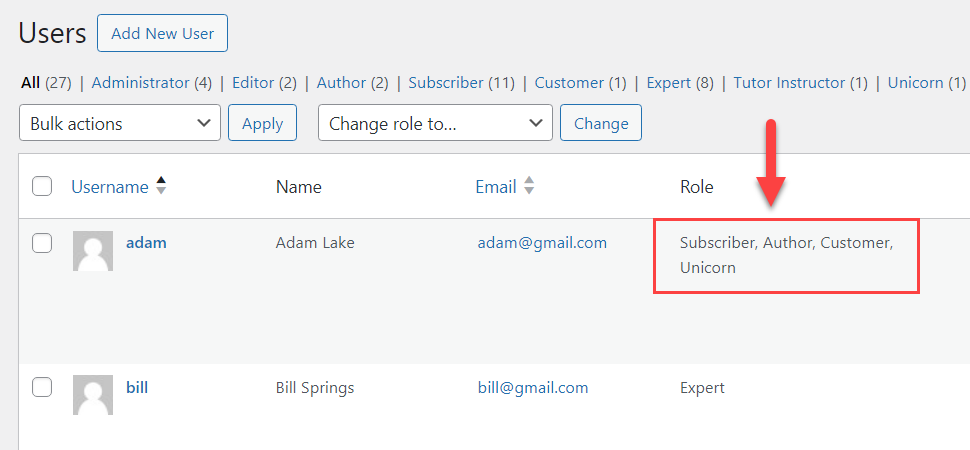
You can get back to the list of all users and under the Role column see all user roles assigned to this user.