WordPress Footnotes (CMF) - Free Version Guide
Free Version
WordPress Footnotes comes in two versions: Free version and Pro version. Note that the product guide goes through many features only available on the Pro version.
This article focuses on the free version.
Table of contents
- Settings
- Creating a definition
- Placing a shortcode with a footnote
- Disabling/enabling footnotes
- Footnote link
- Differences Between Free and Pro
Settings
To configure the plugin navigate to Admin Dashboard → CM Footnotes → Settings.
There you can see a few options that are available in Free version.
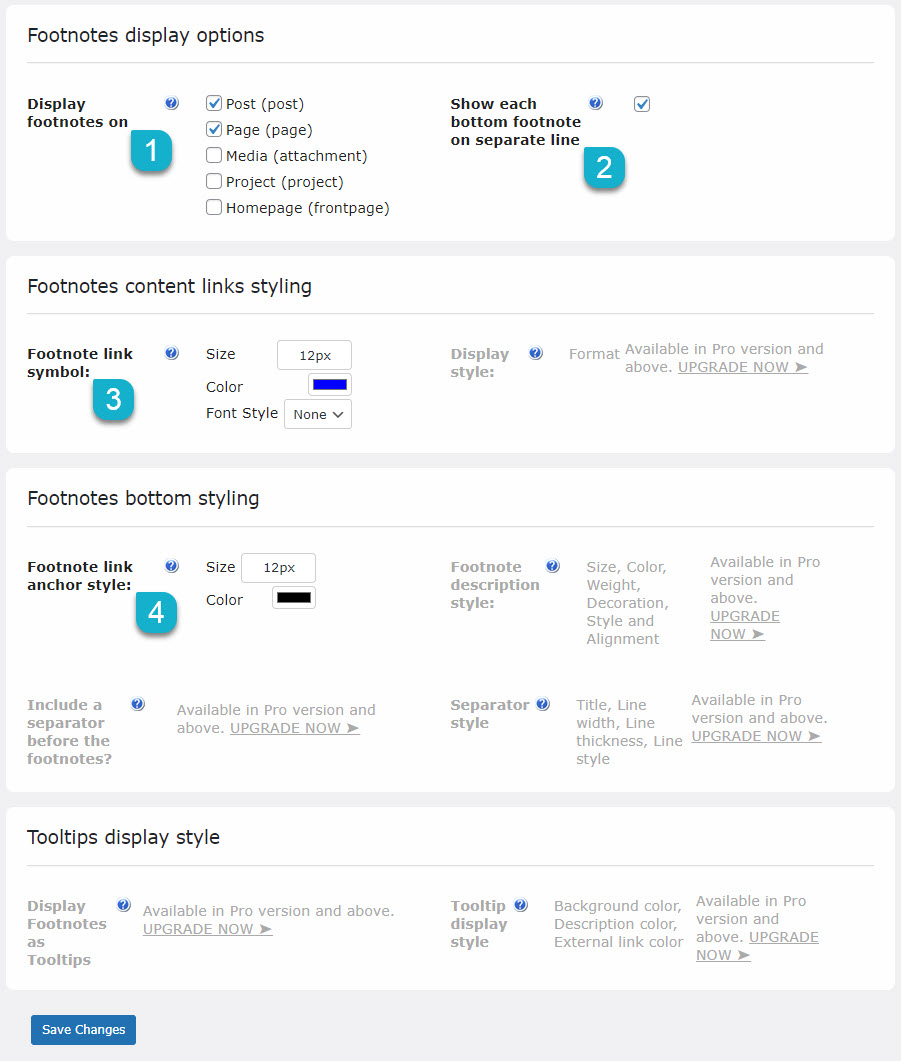
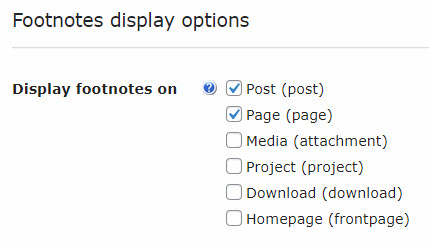
- Display footnotes on - Check the boxes to display footnotes on custom post types as well as on regular posts.
Show each bottom footnote on separate line - Enable it if you want to display each bottom footnote on a separate line.
The option is disabled / the option is enabled:

Displaying footnotes in columns or in separate lines - Footnote link symbol - Configure the style of a footnote link symbol with the following options:
- Size
- Color
- Font Style (Bold or Italic)
- Footnote link anchor style - Set the style of footnote link anchor:
- Size
- Color

Don't forget to save the changes!

You can learn more about the rest of the options that are available in Pro version in this guide: WordPress Footnotes (CMF) - Settings - General Settings
Creating a Definition
First you need to start editing some post or page. When the plugin is activated a new metabox appears on the bottom of the page: CM Footnotes - Definitions. There are a few columns that you need to fill.
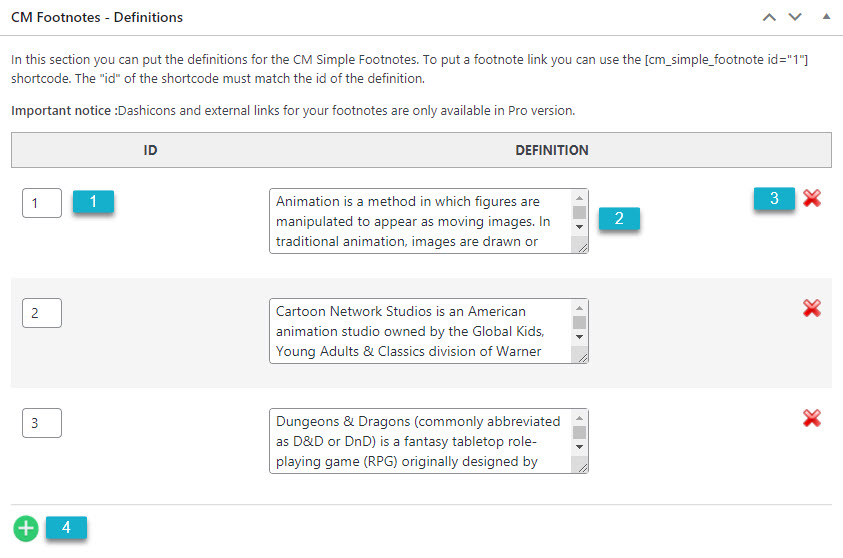
- ID - Here is defined the ID that will be used in the shortcode. You can either use IDs that are created automatically (1, 2, 3...), or you can write here any other ID - it can be for instance letters or special characters.
- Definition - This field should contain the definition/explanation, which the link created by the shortcode will link to.
- Delete Definition - Click the "X" button to delete this definition.
- Add New Definition - Click the "+" button to add new definition.
Placing a Shortcode With a Footnote
To add a footnote link you just need to put the shortcode anywhere you want in the page content. Shortcode: [cm_simple_footnote id="X"]

The shortcode takes just one parameter - id. As it's already been said before - the value of the parameter can contain numbers, letters or special characters.
The parameter has two purposes:
- It identifies the footnote - so you can easily match the link and the definition
- It's the label for the link - so it's up to administrator how the link will appear on the front-end
You can add shortcodes like:
[cm_simple_footnote id="1"][cm_simple_footnote id="xx"][cm_simple_footnote id="$%][cm_simple_footnote id="j1"][cm_simple_footnote id="link"]
Disabling/Enabling Footnotes
There are two ways how you can disable or enable footnotes on the post/page.
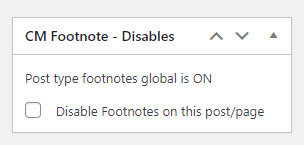
1) If in plugin settings in the option Display footnotes on are chosen some post types, you can can disable footnotes on some definite post/page of that type.
While editing the post/page find the metabox CM Footnote - Disables on the right dashboard. Then check the option Disable Footnotes on this post/page. You can uncheck this option when you need the footnotes to be displayed again on that post/page. And you can see there a message that says this post type is ON in plugin settings.
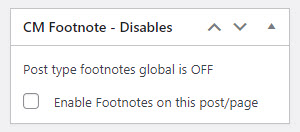
2) And the opposite - some post/page types can be disabled in plugin options for displaying footnotes, but you can enable it on the definite post/pages.
While editing the post/page find the metabox CM Footnote - Disables will have another option - Enable Footnotes on this post/page. You can uncheck this option when you need the footnotes not to be displayed again on that post/page. And you can see there a message that says this post type is OFF in plugin settings.
Footnote Link
Users can click on the footnote link and they will be automatically scrolled to the bottom of the page to the needed definition.

Why Upgrade to Pro - Differences Between Free and Pro
 |
More information about the WordPress Footnotes Plugin Other WordPress products can be found at CreativeMinds WordPress Store |
 |
Let us know how we can Improve this Product Documentation Page To open a Support Ticket visit our support center |