WordPress Invitation Code - How To - Sell the Access Codes Directly From the WooCommerce Shop
Introduction
It's possible to sell invitation codes directly from your WooCommerce shop, and you can use the same product for generating different codes for different buyers.
This feature was introduced in version 1.3.10 of WordPress Invitation Code plugin.
Note: The following instructions work the same for restricting URL, Posts/Pages, Content inside Page/Post, File Upload and File Link. In our example we will follow the steps to restrict posts.
Step by Step
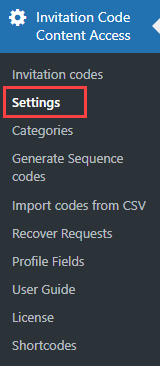
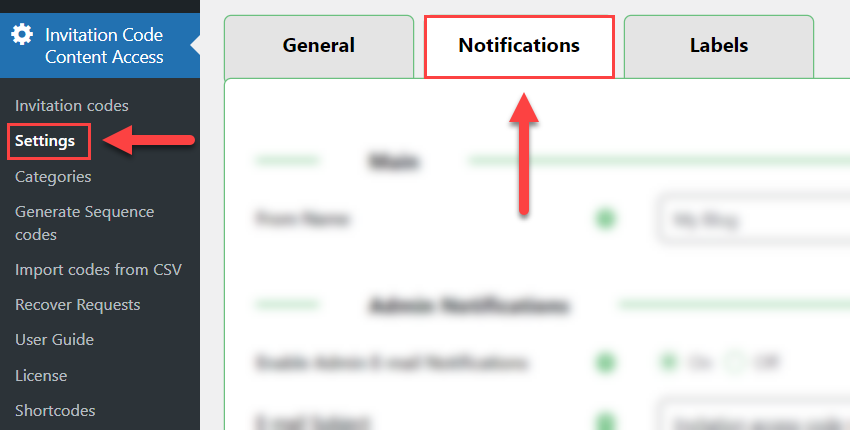
Navigate to Admin Dashboard → Invitation Code Content Access → Setting.
In the General tab, under the Payment section, find and enable these three options:
- Enable Payment
- Auto create/update WooCommerce products for invitation codes with price
- Allow to sell invitation codes via products ordered directly from the shop catalog
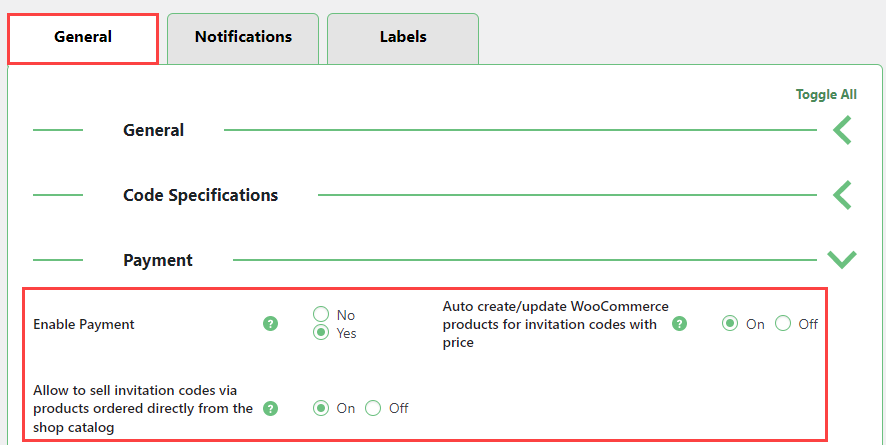
Then click the button Save Changes at the bottom of the page.

Now you can start creating the invitation code.
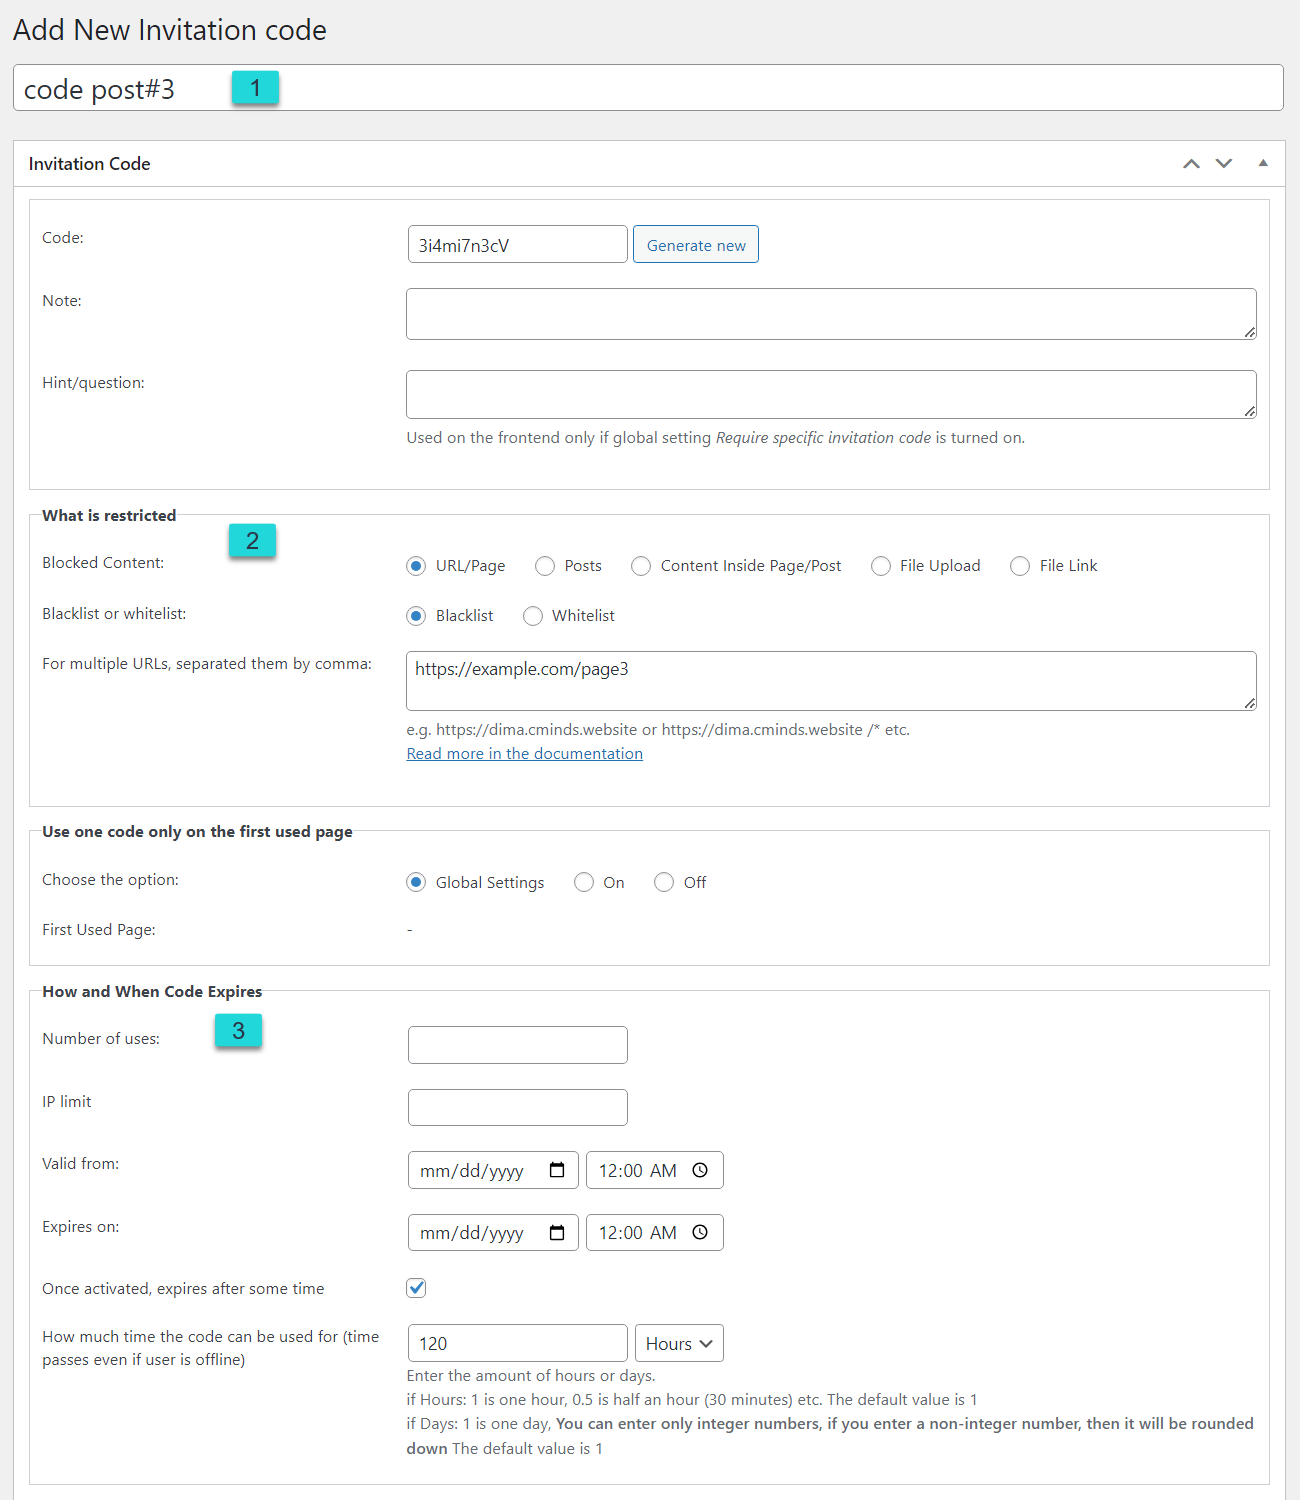
While creating code you need to configure the following:
- Add the code name (for internal usage only).
- Define what content is restricted
- Define the expiration time - how long the content will be unlocked after the code activation.
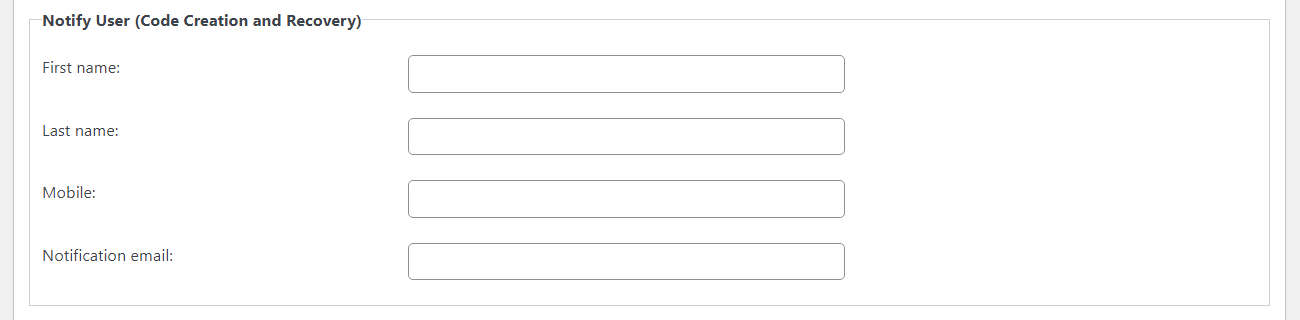
The section Notify User should be empty, as when the user purchases the code, the Notification email will be filled automatically for the generated code.
TIP
You can learn more about creating the codes in Creating Codes - Single Code or Use Case - How to restrict two separate pages with different codes.
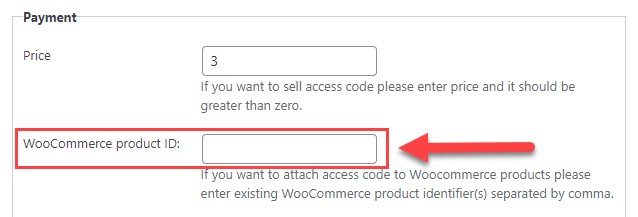
After filling all information while creating the code, don't forget to set the price:

Important! The field WooCommerce product ID must be empty - the product will be created automatically and you don't need to create it manually and enter it's ID here.
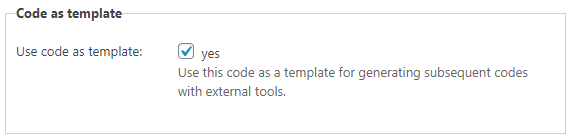
And the second crucial thing - enable the option Use code as template:
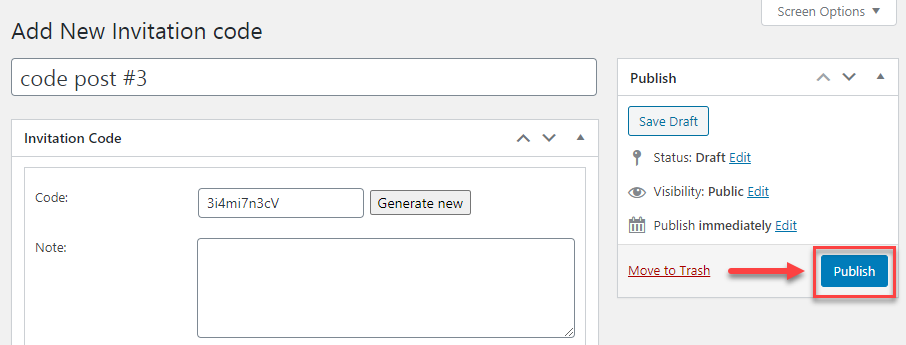
Now you can Publish the code.
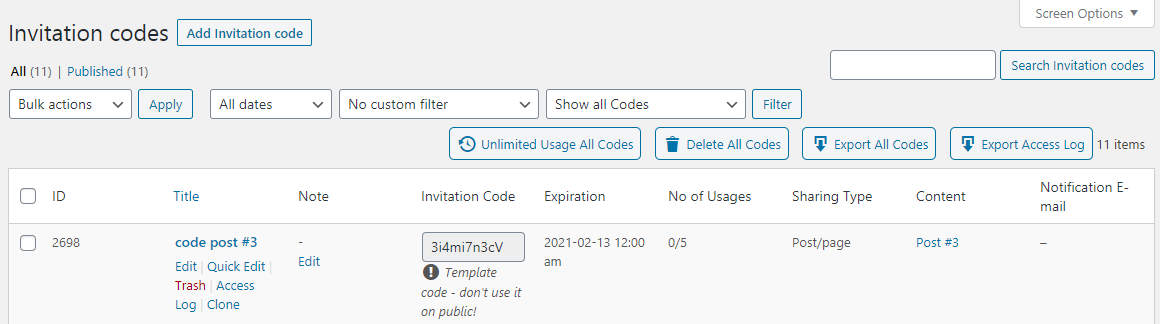
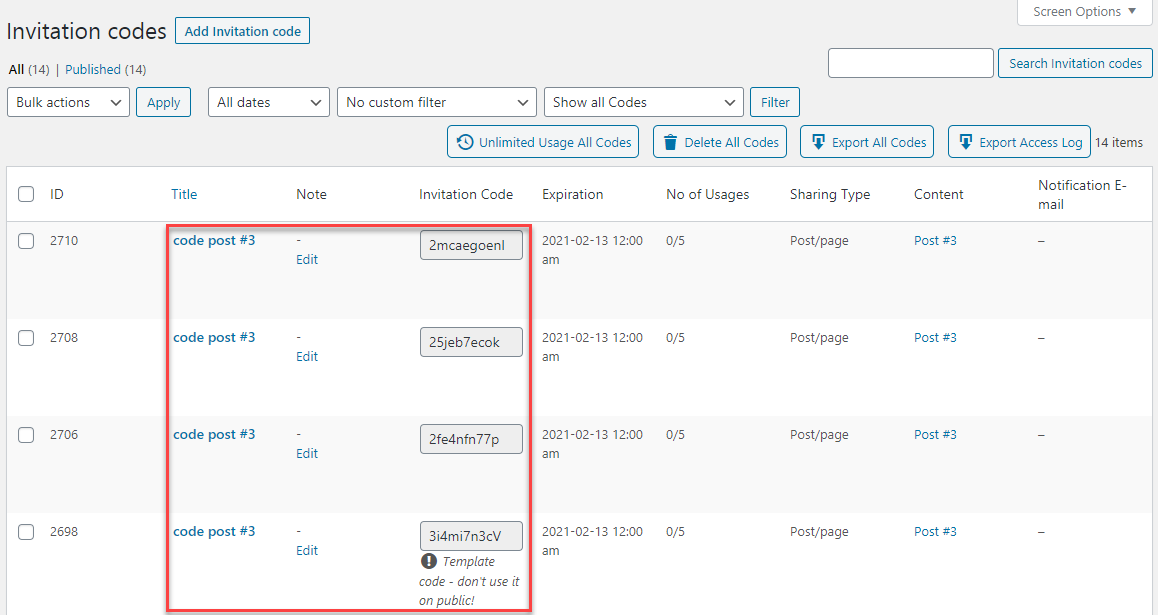
The created code is in a list of invitation codes:
The relevant WooCommerce product was created automatically:
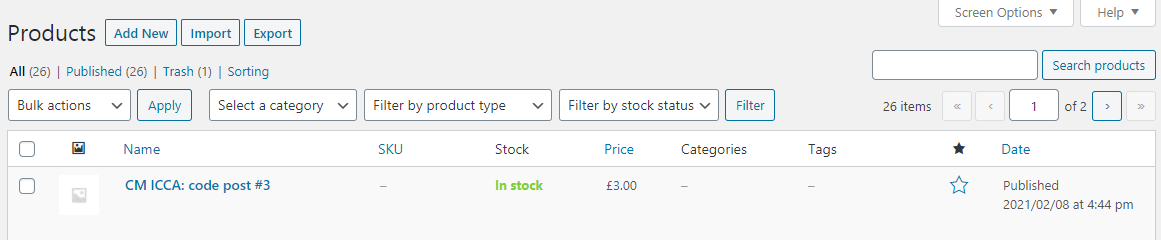
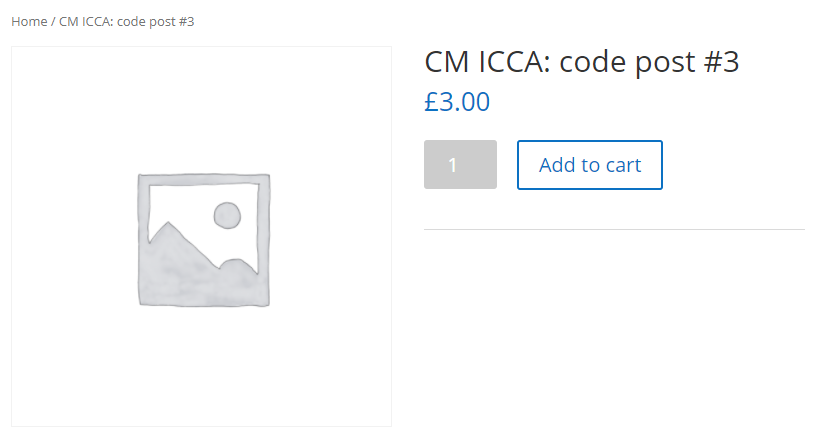
Now you can sell the code directly from your WooCommerce shop:
Now every time someone buys the code a new unique code is generated, and you can see it in the list of the invitation codes.
Using this simple instruction you can sell different invitation codes using the same product directly from your WooCommerce shop.
But remember: you need to create a separate template code for each item (page, post, url etc.) you want to restrict.
How Are Purchased Codes Delivered To Customers?
Email Notifications
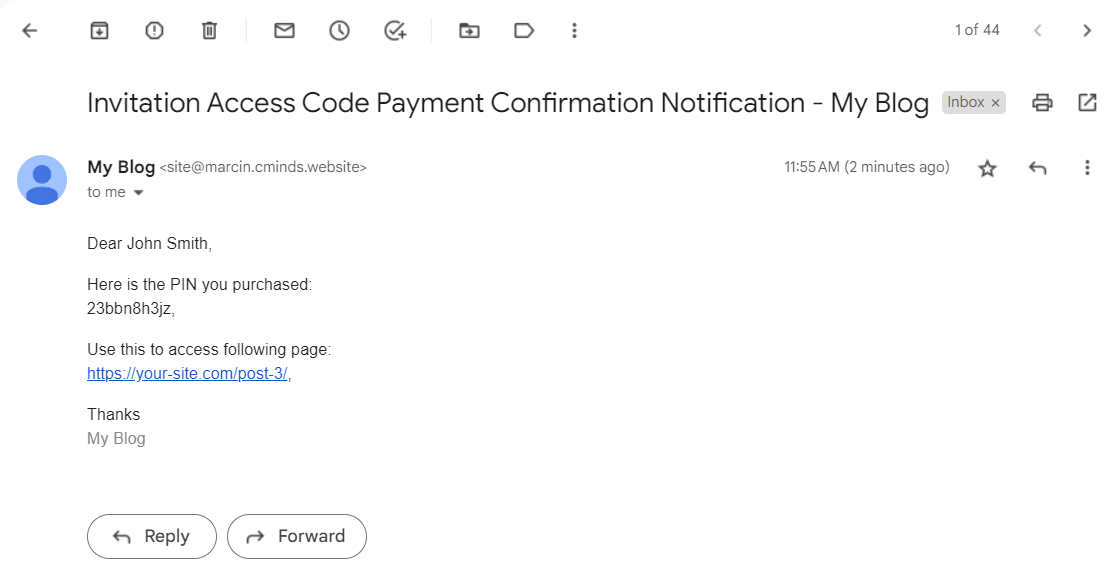
When the user makes a purchase, he recieves an email notification with the code and the links that the code gives access to.
You can edit the email template. To do this, navigate to Admin Dashboard → Invitation Code Content Access → Setting → Notifications tab.
Scroll down and find the section Payment Confirmation Notifications. Here you can edit E-mail Subject and E-mail Content:
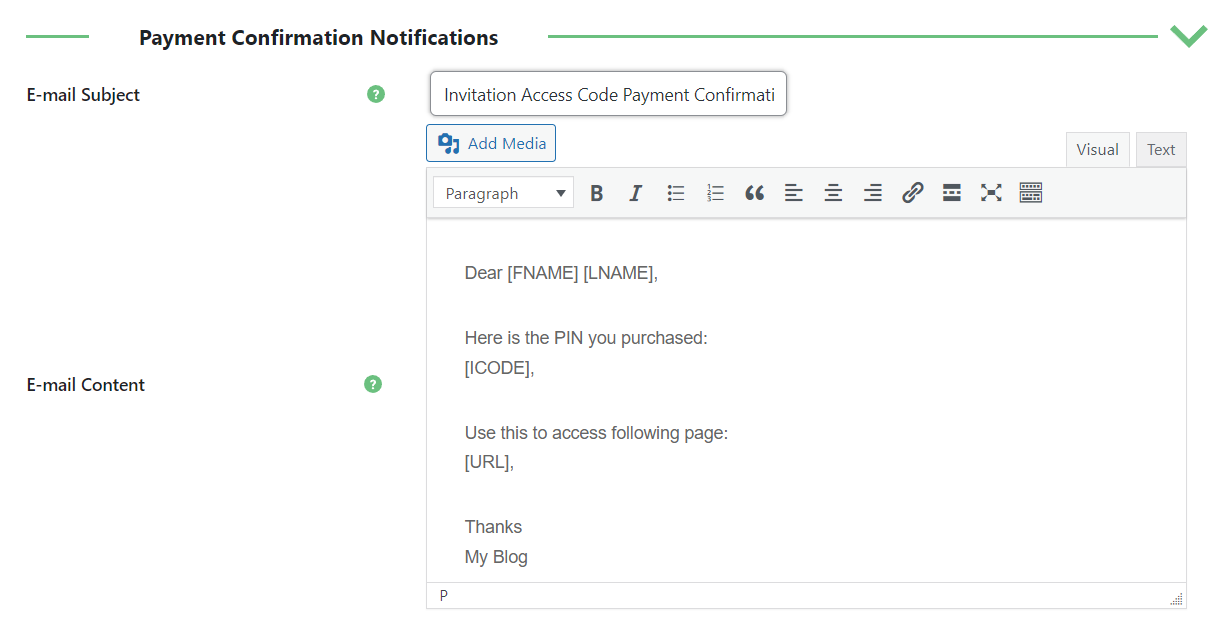
The area E-mail Content accepts the following shortcodes for adding dynamic content:
- [FNAME] - First name.
- [LNAME] - Last name
- [EMAIL] - Email address.
- [ICODE] - The code itself.
- [URL] - One or multiple URLs that the code is associated with.
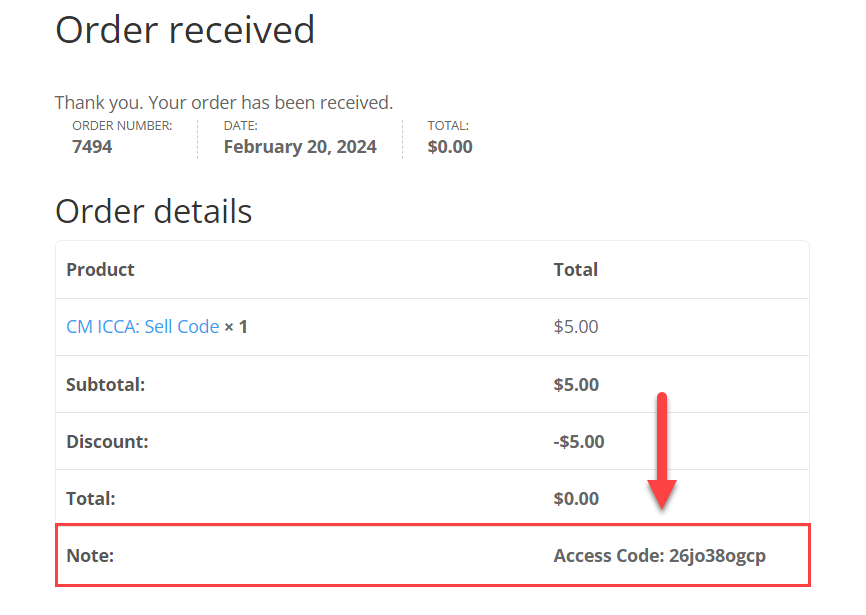
Order Details Page
Since the plugin version 1.6.6, the purchased codes are also displayed on the Order details page:
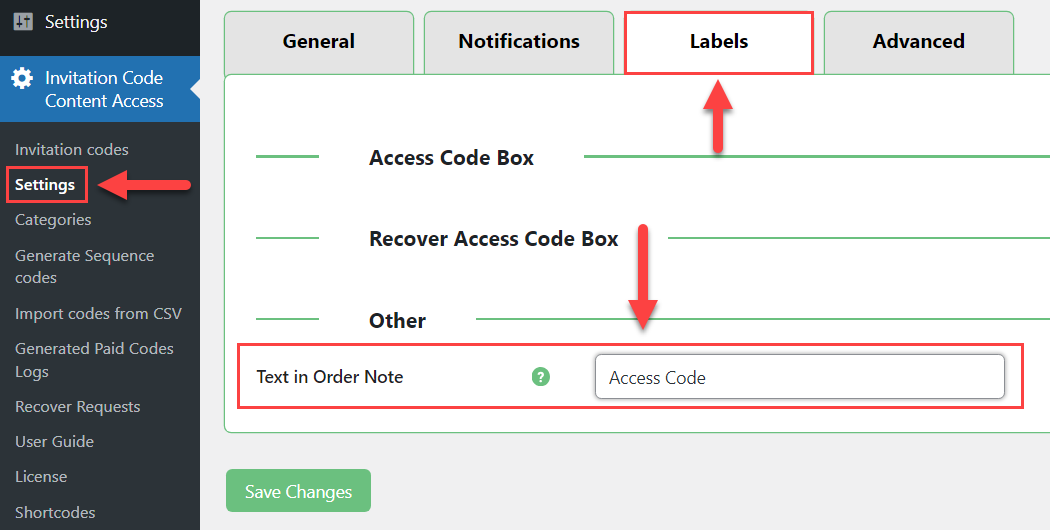
The Access Code label can be changed. To do this, navigate to Admin Dashboard → Invitation Code Content Access → Settings → Labels tab. Needed label Text in Order Note can be found under the Other section.
 |
More information about the WordPress Invitation Code Plugin Other WordPress products can be found at CreativeMinds WordPress Store |
 |
Let us know how we can Improve this Product Documentation Page To open a Support Ticket visit our support center |