WordPress Course Catalog Plugin - Course - Adding, Managing and Organizing
Courses - Adding, Managing and Organizing
Viewing All Courses
To manage your current courses in the WordPress Course Catalog plugin, head to Admin Dashboard → CM Course Catalog Pro → Course.
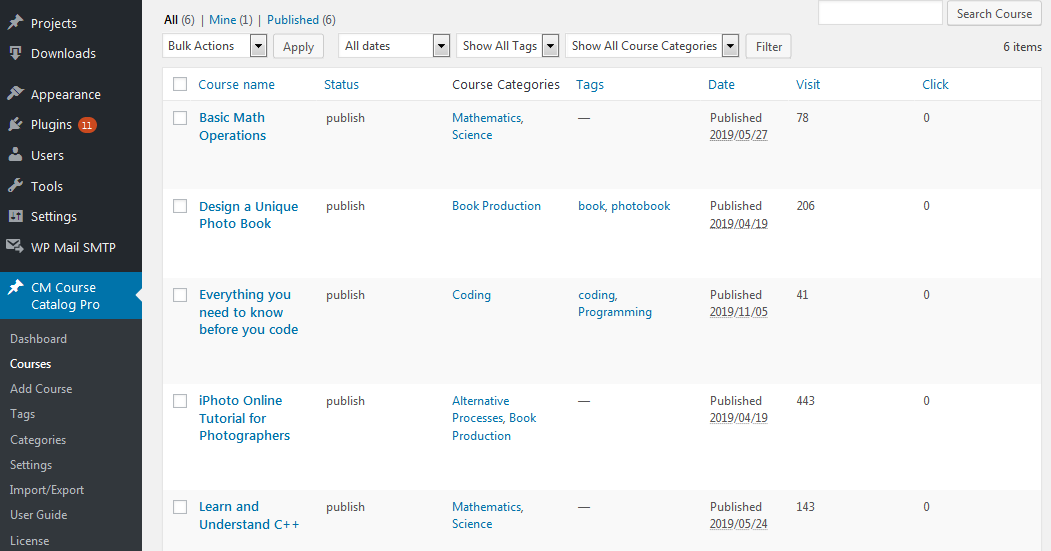
This screen offers an overview of all courses. You can filter and edit them.
To edit a particular course, approach the mouse to its name.

Adding a Course
Related Articles
Course Page Settings | Course Catalog Settings | Catalog Appearance Settings
Simply click the Add Course button to start and you will be presented with a blank template.

1) Course Details
These are the most relevant options
- Course Name - How the course will be identified. This will appear on the Front-End.
- Course Long Description - This information will be displayed prominently on the course page. Accept images, embeds and formatting.
- Template - This template adds a different layout to your course page.
- Course Short Description - A smaller version of the description. This field is not obligatory and may not appear on your site depending on the theme.
- Who is allowed to register - Choose if to follow global plugin setting or to override it by choosing beetween Everyone, Logged in users or Students. The registration can be Basic or Paid. Note: this option was added to the base plugin in version 1.3.6.
- Manage Post Ratings - Shows customer ratings for the course. The table with ratings includes such information as User Name, User IP, Date, Actions.
- Syllabus - Accepts images, embeds and formatting.
- Additional Information - Accepts images, embeds and formatting.
- Student Information - This information can be sent in the email to the student after registration. Use the
[info_for_user]shorttag in the email template in Plugin Settings. Accepts images, embeds and formatting. Note: this option is available only in the Enterprise Edition of CM Course Catalog since the version 1.4.0. - Course Banner - Add an image to be displayed at the top of the course page.
- Is this course promoted? - Mark if you would like to highlight the course on the Course Catalog.
- Course Picture Gallery - Add one or more relevant images
- Course Video Gallery - Add YouTube or Vimeo links. Make sure the links follow either of these standards:
- Course Information - This is an important field, where you can specify:
- Course code
- Backlink label
- Number of sessions
- Total number of hours
- Minimum number of participants
- Maximum number of participants
- Course Price
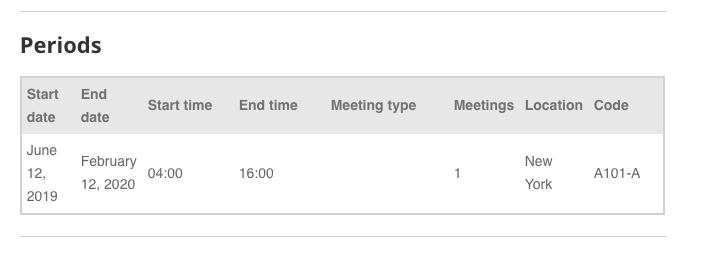
Course Periods - Add any number of periods. You can apply taxonomies here. Learn more: Course Catalog LMS - Taxonomies

Setting up the course periods Code and Code Link
In the code link field you can add the URL which will be applied to the code.

Code and code link Show/Hide Columns On the Back-End
You can show/hide the columns in the periods table using the buttons above the table. It is made only for the convenience of work with the table on the back-end. It doesn't affect the columns on the front-end. You can learn more about how to change the column appearance on the front-end in this guide.
Note: this feature is available only in the Enterprise Edition of the WordPress Course Catalog plugin since the version 1.4.0.

Showing or hiding columns on the back-end - Course Address and Map - Add a physical or virtual address
- Workshop director - Add a tutor of the course.
- Course Documents - You can attach any number of files, such as a PDF with terms of service


TIP: Editing the Course Periods Table
You can change what fields appear and on each order on desktop and mobile versions.
Learn more: Settings - Course Page
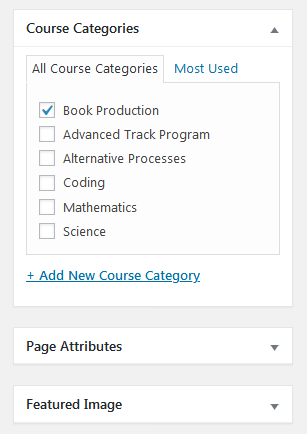
2) Organizing The Course
On the right side of the page, you will find three important metaboxes. Editing them is optional, but it will help you grouping this course with other relevant ones.
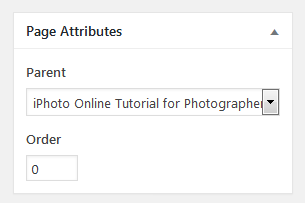
Page Attributes
Optionally, make this course a child of another one.
Featured Image
Add a featured image, which usually is shown when sharing the link
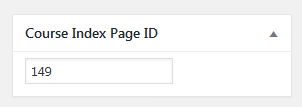
Course Index Page ID
Select the ID of the page with the [cmcc_course] shortcode. All backlinks will be pointing to that page. Once the plugin is installed, it automatically creates a page with the shortcode in it so you don't have to set it manually
 |
More information about the WordPress Course Catalog Plugin Other WordPress products can be found at CreativeMinds WordPress Store |
 |
Let us know how we can Improve this Product Documentation Page To open a Support Ticket visit our support center |