Content Moderation Tools (CMMOD) - Getting Started - Installation
Initial Plugin Installation
Prefer a Complete Step-by-Step?
Check our use case guides:
Here are the steps needed to install the plugin.
- Download - To manually install the Content Moderation Tools plugin, you first must download it from the Client Dashboard (Pro version) to your computer. Navigate to the Plugin tab on the Wordpress Admin Panel to install the plugin.
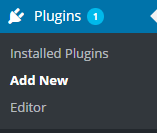
- Hover over the Plugin tab and click on Add New.
- Select Upload from the options shown and find the file you downloaded.


- Install the plugin.
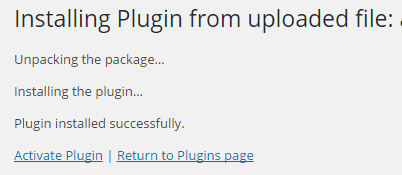
- Once the plugin is installed it will appear on the Plugin tab for you to activate and use.
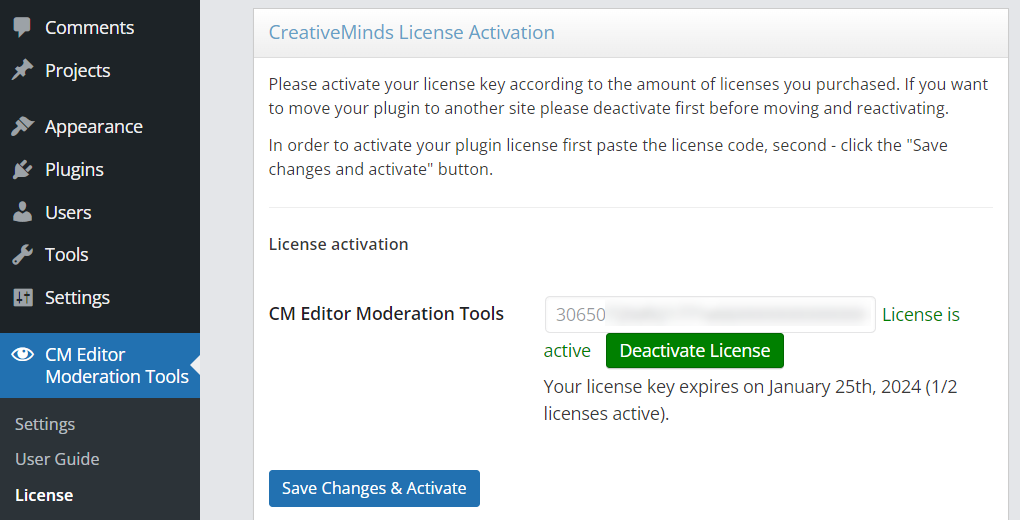
- For the Pro Version you will need next to activate the license. Navigate to the License section which is found under the CM Editor Moderation Tools and add the License which you have received from CreativeMinds. Save it first and then activate it. A green label will shows that the plugin license was successfully activated, as show below:
 |
More information about the Content Moderation Tools plugin for WordPress Other WordPress products can be found at CreativeMinds WordPress Store |
 |
Let us know how we can Improve this Product Documentation Page To open a Support Ticket visit our support center |