WordPress Travel Map Plugin (CMMRM) - Settings - Dashboard
Settings - Dashboard
With the WordPress Travel Map plugin you can configure the routes creation and edition page. To change its settings, navigate to the Admin Dashboard → CM Maps Route Manager Pro → Settings. Click on the Dashboard tab.

Add route default settings
Define the default setting for new routes. Includes:
- Measurement system
- Weather for each individual location
- Directional arrows for trail paths
- Locations section under the map for single route pages
- Path outline
- Path outline color (this option was introduced in version 4.8.2)

General

Enable instructions button - Adds a helpful button that, upon click, shows the video How to Create and Edit a Trail Using the CM Routes Manager Plugin.

Example of the button for displaying instructions Flip map tabs - Default view vs flipped:

Changing tabs order


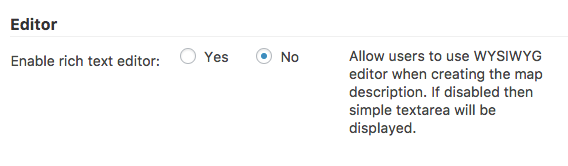
Editor
- Enable rich text editor - Toggles between the WYSIWYG (What You See Is What You Get) editor and the simple text area.
Map
- Editor default location's latitude - The default latitude that the editor will zone in on when creating routes.
- Editor default location's longitude - The default longitude that the editor will zone in on when creating routes.
- Editor default zoom - Sets the default zoom level for the editor. 0 is the most zoomed out, 18 is the most zoomed in.
- Default travel mode - Set's the default mode of travel. Choices are walking, bicycling, driving and direct.
- Show travel mode select in the editor - Toggle's whether or not to allow travel mode select while creating routes.
- Trails stroke weight - Define the stroke's weight for the trail, in pixels.

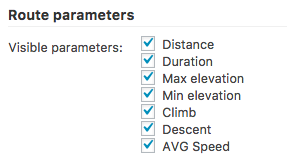
Route Parameters
Defines which parameters will be visible when creating or editing a route.
Importing
- Create starting point marker for imported routes - Creates a marker for the first coordinate of a path upon import.
Create ending point marker for imported routes - Creates a marker for the last coordinate of a path upon import.

Importing settings

Info window
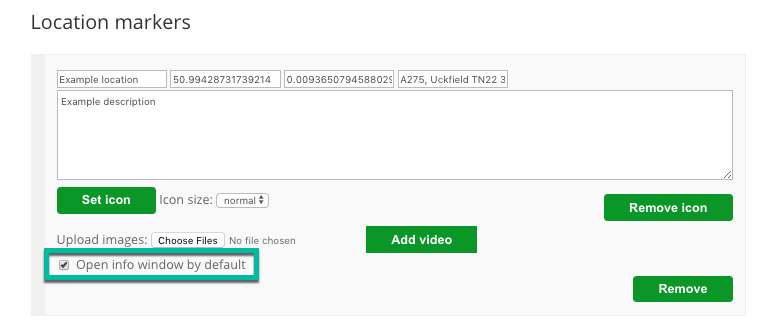
Choose locations to make the info window auto-open - When enabled, lets the user select the locations which will trigger the info window automatically.

In the front-end, the option will appear on the edit box for each location marker, as highlighted:
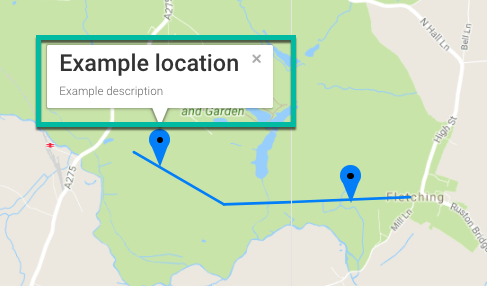
If the option is enabled, the info window will appear by default when loading the route, as highlighted:
Waze
- Choose locations to generate waze button - Toggles whether or not to allow users to generate the Waze button.
Geolocation
- Show user's position using browser's geolocation - Toggles whether or not to display the user's location using. Requires HTTPS.
- Center map to user's location - Uses the web browser's geolocation API to center the map in the user's location.
 |
More information about the WordPress Travel Map Plugin Other WordPress products can be found at CreativeMinds WordPress Store |
 |
Let us know how we can Improve this Product Documentation Page To open a Support Ticket visit our support center |